


The art of brass laser engraving, also known as laser engraving on brass, is a precise technique used to permanently engrave designs, text, patterns, or images onto brass surfaces such as coins, plaques, or lighters. This process utilizes the focused power of light to precisely ablate material, leaving a permanent laser engraving on brass.
In this guide, we delve deep into the world of brass laser engraving, explaining everything from the basics to practical application. Join us on this exciting journey!

In this article:
- Part 1: What is Brass Laser Engraving and What Machines are Available?
- Part 2: Advantages of Laser Engraving Brass
- Part 3: The 3 Best Creative Ideas for Laser Engraving on Brass
- 💡 Practical Example: Engrave a Brass Coin in 5 Steps
Part 1: What is Brass Laser Engraving and What Machines are Available?
1.1 How does laser engraving on brass work?
Brass laser engraving involves directing a focused laser beam onto the brass surface, causing localized heating and vaporization of the material. A thin layer of the brass is removed, creating a precise laser engraving on brass.
Among all engraving methods, laser processing of brass is the best choice, as it enables convenient, precise, and durable engraving on various types of brass. This allows for detailed designs with high durability.

1.2 Which machine is needed for brass laser engraving?
To begin brass laser engraving, a suitable laser engraving machine is required. These machines are essential for laser engraving brass, as they can handle the material's hardness and density, thus ensuring precise and durable results.
Given the variety of laser engraving machines available, many wonder: Which laser is best suited for engraving brass? or Which machine is optimal for laser marking brass?
While CO₂ lasers are often considered powerful, there are occasionally concerns about the suitability of diode lasers for laser engraving on brass. But don't worry: you can certainly engrave brass with a diode laser. Both diode and CO₂ lasers are suitable for home use and smaller engraving projects. If mobility, ease of use, and cost-effectiveness are priorities, a diode laser is the best choice for laser marking brass.
Part 2: Advantages of Laser Engraving Brass
Brass laser engraving offers numerous advantages and is the preferred method for creating intricate designs on brass surfaces. Here are some of the key benefits:
- Finest details and highest precision:
With laser engraving on brass, extremely fine and detailed patterns can be realized on the surface – with a precision that is hard to achieve with conventional engraving techniques. Even complex designs can be transferred to the material with razor-sharp clarity.
- Gentle processing without material distortion:
Unlike traditional engraving methods, which often require direct contact with the material, laser processing of brass is a non-contact process. This minimizes the risk of damage or distortion and ensures clean, precise engravings.
- Versatility for different material thicknesses:
Brass laser engraving can be adapted to various material thicknesses – from thin sheets to solid plates and curved surfaces. This flexibility opens up numerous application possibilities, from decorative engravings to functional markings.
Part 3: The 3 Best Creative Ideas for Laser Engraving on Brass
Here are three inspiring ways you can creatively use brass engraving (laser):
1. Laser-engraved brass coins:
Custom-designed brass coins are perfect for personal gifts or collectibles. Names, dates, or special messages can be permanently immortalized through laser engraving on brass. Whether for collectors, promotional purposes, or as keepsakes – a precise engraving ensures a high-quality appearance and durability.

2. Laser-engraved brass plaques:
Whether as an award, memorial plaque, or decorative sign – engraved brass plaques are versatile. Laser processing of brass allows for both detailed patterns and sharp text. This creates elegant and individually customizable designs for a wide range of applications.

3. Laser-engraved brass lighters:
An elegant brass lighter with an individual engraving becomes a unique gift or collector's item. Through brass laser engraving, initials, logos, or artistic patterns can be applied to the lighter – ideal for stylish, personal touches.

💡 Practical Example: Engrave a Brass Coin in 5 Steps
Preparation Checklist for Laser Engraving a Brass Coin:
- Engraving Material: Brass coin
- Engraving Machine: Laser engraver
- Engraving Design: Text, images, patterns, etc.
Is brass good for engraving? Absolutely! Whether you prefer patterns, quotes, or images – laser engraving brass is a simple and effective way to apply personalized designs to durable brass objects. Follow these five easy steps to complete your individual laser engraving project.
Step 1: Choose the right brass material
Selecting the appropriate material is crucial for optimal engraving results. Brass with a smooth and clear surface is best suited for precise laser engraving on brass. Important: Make sure the material used is safe for laser processing to avoid potential risks.
In this guide, we'll show you how to successfully execute the engraving process using a brass coin as an example.

Step 2: Choose the right brass laser engraving machine
For this example, we are using the LaserPecker 4 (LP4), a powerful dual-laser engraver with versatile functions, which is excellent for laser marking brass.
Step 3: Prepare your engraving design
Create or import your desired design into graphic software. Pay attention to size, shape, and details such as text or patterns. Careful preparation ensures a precise and high-quality brass laser engraving.

Step 4: Set up the brass laser engraving machine
First, make sure your laser engraver is switched on. Then connect it to your computer or mobile device via the appropriate interface (USB, Bluetooth, etc.).
Next, open your graphics software and load the desired design.

Now activate "Preview Mode" to check if the laser lens is correctly focused. There are two methods for this:
Method 1: If you are using the LaserPecker 4 (LP4), use a ruler to measure the distance between the brass surface and the machine – the recommended distance is 15 cm (150 mm).
Method 2: Check if the two red laser dots overlap. This indicates that the focus is optimally set.

Now place the brass piece in the designated work area and check the positioning of your design. If it doesn't fit, adjust the size and placement so that the engraving precisely hits the desired area.

Finally, adjust the laser settings in the software – this includes power, speed, and resolution, depending on the material and design complexity.
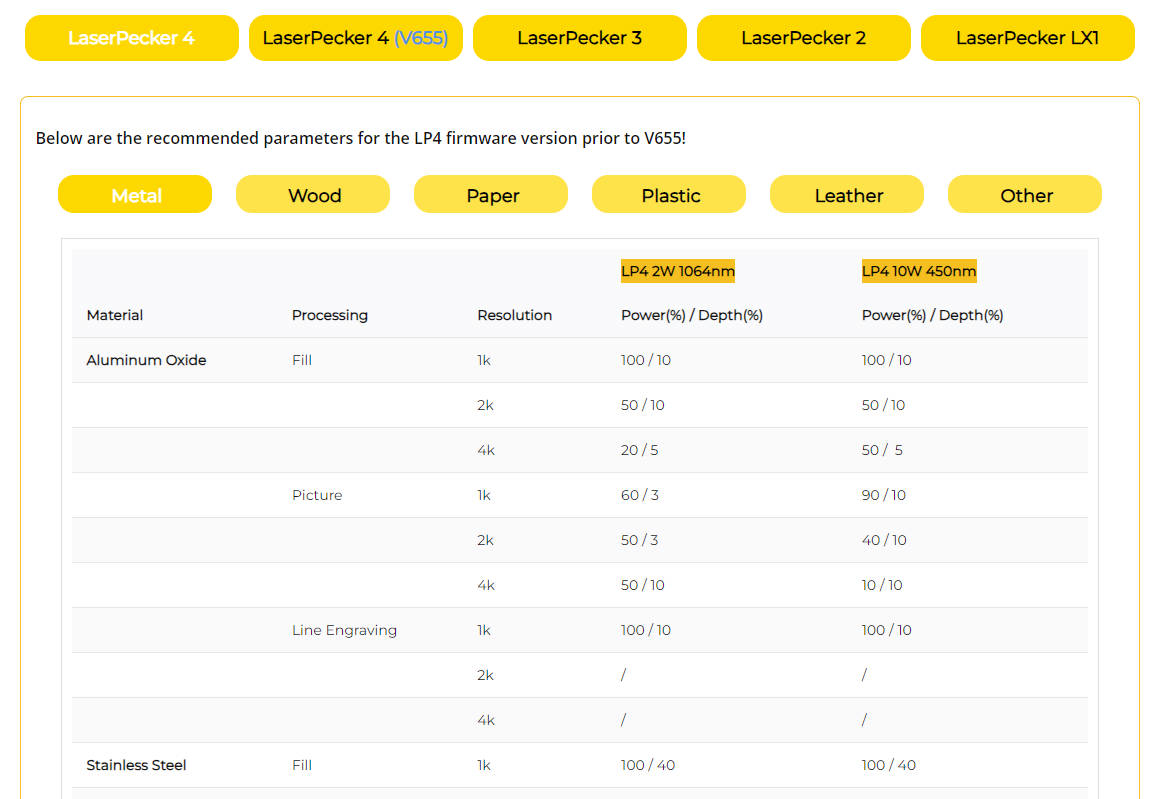
If you're asking yourself: "How much power is needed to engrave brass?" or "How deep does laser engraving go on brass?" – here are the recommended settings for the LaserPecker 4:
Power: 100%; Depth: 40%; Resolution: 1k; Laser: 10 W, 450 nm; Passes: 1
If you are looking for other laser marking on brass settings for LaserPecker devices (LP1, LP2, LP3, LP4, LP5), you can find the complete overview in the material table on our website.
Step 5: Start laser engraving on brass
Double-check all settings to avoid errors. Then press Start and watch as the laser transfers your design onto the brass surface!
When working with a 450 nm blue laser, you should wear protective eyewear or use a laser protective cover to protect your eyes and skin.
Furthermore, brass laser engraving can produce smoke or harmful fumes. Therefore, it is important to either wear a respirator or use an air purifier. If you want to learn more about operating the LaserPecker 4, take a look at the LP4 user manual on our website!
Conclusion
This guide demonstrates how simple and creative brass engraving with a laser can be. The technique opens up exciting possibilities for personalized designs – from artworks to individual engravings on brass objects. Let your creativity run wild and bring unique ideas to life with laser engraving on brass!


