Glass laser engraving – also known as laser marking or glass etching – uses a laser beam to engrave precise designs and patterns onto glass surfaces.
This guide will teach you everything you need to know about laser engraving on glass, from the basic principles of operation to preparing the glass and providing detailed instructions for the engraving process.
Before you begin laser engraving glass, please read this guide carefully.

Contents of this article:
- Part 1: What is glass laser engraving and what machines are available?
- Part 2: How to prepare glass for laser engraving?
- 🧪 Practical example: Glass engraving of a perfume bottle in just 5 steps
- 💡 More inspiration: Top 4 creative ideas for glass laser engraving
Part 1: What is glass laser engraving and what machines are available?
1.1 Glass laser engraving explained:
"Can you engrave glass with a laser?" Absolutely! Laser engraving on glass is achieved using a focused laser beam that transfers large amounts of energy to the glass surface. This creates localized heating, which leads to the vaporization or microfracture of the material. This removes a thin layer of the glass, creating precise engravings on the glass, such as text, graphics, or patterns.

1.2 The right machine for glass engraving:
To successfully engrave glass, you need a laser engraving machine for glass that is specifically designed for this material.
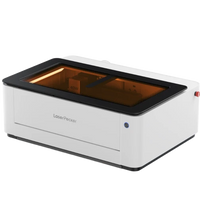
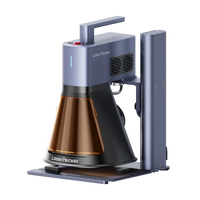
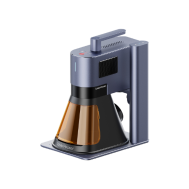
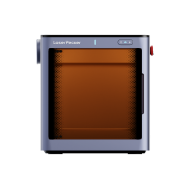
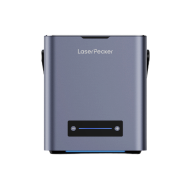
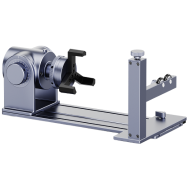
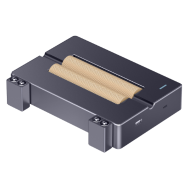
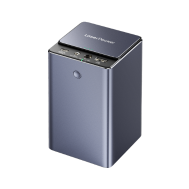
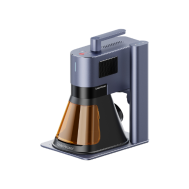
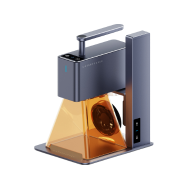
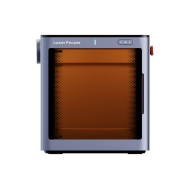
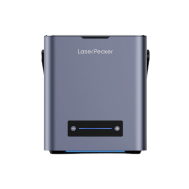
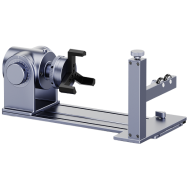
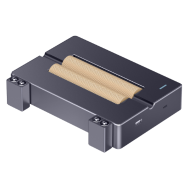
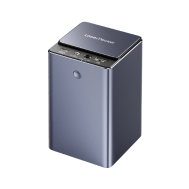
But which is the best laser marking machine for glass? A popular choice is the LaserPecker series , which features user-friendly operation, high precision, and compatibility with various materials, including glass.

Part 2: How to prepare glass for laser engraving?
Proper preparation is crucial for achieving precise, high-quality laser engraving on glass. The first step is to thoroughly clean the glass. Remove any dirt, dust, or grease from the surface to ensure an even engraving.
If you want to engrave clear glass, another important step is coating. Since transparent glass doesn't absorb the laser beam optimally, a coating helps achieve more precise results. Here are four simple methods:

Method 1: Laser Engraving Paper
This special paper was developed for laser engraving on glass. It has a heat-sensitive coating that absorbs the laser energy and transfers the desired design to the glass.

Method 2: Markers
A simple approach is to apply a layer of color to the glass with a black marker. The dark ink absorbs the laser energy, enabling laser engraving.

Method 3: Dark paper
Similar to laser engraving paper, dark paper can be used as a temporary coating. It absorbs the laser beam and facilitates engraving.

Method 4: Laser marking spray
This specially developed spray creates a temporary coating on the glass surface, ensuring precise laser marking on glass.

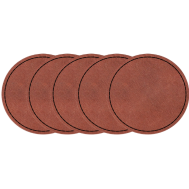
Among these methods, marking paper is the best choice because it's environmentally friendly and easy to use. Using marking paper in various colors, a protective layer can be applied to the glass, allowing for detailed and personalized designs with a laser glass engraving machine.
🧪 Practical example: Glass engraving of a perfume bottle in just 5 steps
Is glass difficult to engrave? Absolutely not! Whether you prefer patterns, quotes, or images, laser engraving glass is a straightforward process. Simply follow these 5 steps to create unique and detailed designs on your glass objects.
Materials required:
- Engraving material: glass bottle
- Engraving machine: Diode laser engraver
- Engraving design: text, images, patterns, etc.
- Tools: Laser engraving paper, marker, dark paper, laser marking spray
Step 1: Choose the right glass
Glass bottles or cups are ideal for laser engraving. Colored, opaque, or coated glass often achieves better engraving results than clear glass.
Remember: It is important to use laser-safe glass to avoid safety risks.
In this tutorial we will engrave a glass perfume bottle.

Step 2: Choose the right laser engraving machine for glass
Here we use the LaserPecker 4 (LP4) – a dual-laser and multifunctional diode laser that is particularly suitable for glass laser engraving.
Step 3: Prepare the engraving design
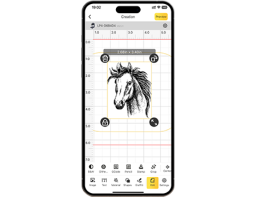
Use the LaserPecker Design Space app or software to create or import your design. Pay attention to size, shape, and details like text or patterns.

If you're lacking inspiration for laser engraving glass, visit our CraftZone for numerous creative ideas and designs.

Step 4: Set up the glass laser engraving machine
First, make sure your laser engraving machine for glass is turned on. Then connect the laser engraver to your computer or mobile device using the appropriate interface (USB cable, Bluetooth, etc.).
Next, open your graphic design software and upload your engraving design.

Next, place the glass object on the work surface and check that the laser marking on the glass is precisely focused. There are two methods for this:
If you're using the LaserPecker 4 (LP4), measure the distance between the glass surface and the machine. The recommended distance is 15 cm (150 mm).
Alternatively, you can check whether the two red dots of the laser overlap. This ensures that the laser engraving on glass will be precise and sharp.

Then, activate preview mode to check if the design fits perfectly on the glass. If necessary, adjust the size and position.

Finally, open the laser settings in the software and adjust the power, speed, and resolution according to the glass object and design. You may be wondering: How much power is needed for glass engraving? How deep will the laser engrave into the glass?
Here are the recommended settings for the LaserPecker 4:
Power: 100%; Wavelength: 450 nm (10 W); Resolution: 1K; Depth: 30%; Passes: 1
You can find further LaserPecker material settings in our settings table which applies to all models such as LX1, LP2, LP3, LP4 and LP5.
Step 5: Start your glass engraving now!
Double-check everything before starting the engraving. Then simply press start – and your design will be engraved onto the glass!
Safety measures for glass laser engraving:
Wear protective eyewear or a laser shield, as the 450 nm blue laser poses risks to the eyes and skin.
Smoke or harmful gases may be produced during glass engraving. A respirator or air filter is important for safety.

💡 More inspiration: Top 4 creative ideas for glass laser engraving
Here are 4 ideas for glass laser engraving:
1. Laser engraved glass cups :
Laser engraving on glass allows you to personalize glass mugs with intricate designs, logos, or messages. This glass engraving technique gives the mug a truly personal touch.

2. Laser engraved glass necklaces with engraved images:
Keep your most precious memories close to you with laser-engraved glass necklaces. These unique pieces make wonderful gifts and personal accessories that add a sentimental touch to any outfit.
3. Laser-engraved glass picture frames:
Present your treasured memories in style with glass-engraved picture frames. These modern and elegant frames preserve your special moments and add a contemporary flair to any room—perfect as an accent piece in any space.

4. Laser engraved glass milk jug :
Laser engraving on glass allows you to add decorative patterns or custom messages to glass milk jugs, enhancing their aesthetic appeal while serving milk or other beverages.

Conclusion:
In summary, glass laser engraving is a powerful way to personalize artwork. We hope these ideas inspire your creativity and encourage you to explore the possibilities of laser engraving on glass. Let your creative designs come to life!


