Ceramics have been used for both practical and decorative purposes for thousands of years. With the advancement of laser engraving technology, ceramic surfaces can now be customized and refined with intricate designs. This opens up countless creative possibilities for makers, artists, and hobbyists.
In this article, we'll show you everything you need to know about laser engraving on ceramic . We'll explain which types of ceramic are suitable for laser engraving and guide you step by step through the entire engraving process using a visible blue laser.
However, laser engraving ceramics isn't always easy, as it requires some pre- and post-treatment. Our goal is to simplify this process for you and take your ceramic laser engraving skills to the next level.

Contents of this article:
Part 1: What is ceramic laser engraving?
Ceramic laser engraving is a process that uses a laser beam to engrave designs, patterns, or text onto ceramic surfaces. A thin layer of the material is removed or altered, creating a permanent and detailed engraving.
A major advantage of laser engraving on ceramic is its high precision and the ability to create fine details and clean lines—all without direct contact with the surface. This process is therefore often used to personalize ceramic items such as tiles, mugs, plates, or decorative objects. The results are characterized by razor-sharp engravings and a professional appearance.

Part 2: Which types of ceramics are suitable for laser engraving?
Materials with a high contrast between the surface and the underlying material are best suited for laser engraving on ceramics . Porcelain, stoneware, and glazed ceramics are particularly well-suited for engraving.


(Top to bottom: Porcelain, glazed ceramics, stoneware. Source: Wiki)
To achieve optimal results, it is recommended to work with smooth, non-porous surfaces. Materials such as stoneware, porcelain, and glazed ceramics produce better results than untreated clay or terracotta. Furthermore, a uniform, fine-grained, and as flawless a structure as possible is crucial for successful engraving.
Especially when laser engraving tiles and ceramics, as well as plates or bowls, a simple geometric shape often leads to more consistent results than very complex designs.
Part 3: 4 steps to laser engraving ceramics

Step 1: Choose the right machine for ceramic laser engraving
Choosing the right machine is crucial to the success of your project. Factors such as laser power, precision, resolution, and engraving speed have a significant impact on the final result.
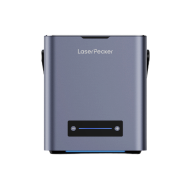
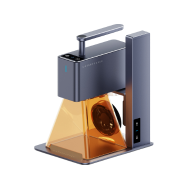
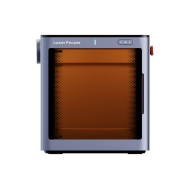
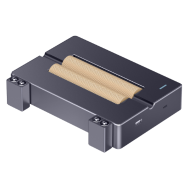
For beginners, we recommend the LaserPecker 2 (LP2) . It's a portable and easy-to-use laser engraver. With a 5-watt, 450nm blue laser source, an engraving speed of 6 mm/s to 600 mm/s, an accuracy of 0.05 mm, and a maximum 2K resolution, it delivers impressive results.

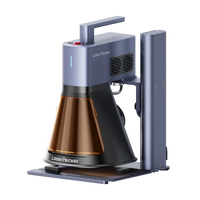
💡 LaserPecker 2 (LP2) - Portable and handy laser engraver
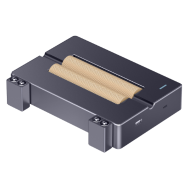
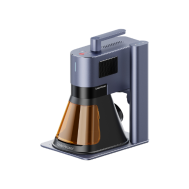
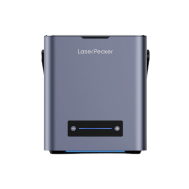
If you're looking for a more versatile machine capable of handling even more materials, consider the LaserPecker 4 (LP4).

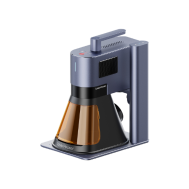
💡 LaserPecker 4 (LP4) - The world's first dual laser engraver for multiple materials
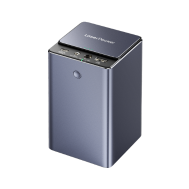
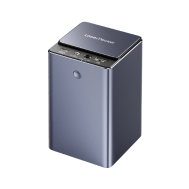
For even faster engraving and higher laser power, the LaserPecker 5 (LP5) is an excellent choice.

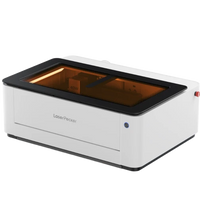
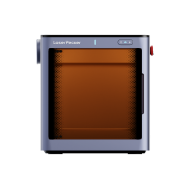
💡 LaserPecker LP5 - Intelligent 20W Fiber & Diode Laser Engraver
Step 2: Cover the surface with black engraving paper
The most effective method for laser engraving ceramics , especially porcelain, is using black engraving paper. This special paper allows for laser engraving on ceramics without the need for additional coating. Its dense surface optimally absorbs the energy of the laser beam.

Instructions for using engraving paper:
1 - Preparation: Prepare the ceramic mug, engraving paper and scissors.
2 - Cutting: Wrap the engraving paper around the mug, measure the required length and cut off any excess paper.

3 - Moisten: Moisten the engraving paper with water to make it easier to remove later.

4 - Application: Peel off a small piece of the paper and stick it to the surface of the cup. Roll the cup over the paper to completely cover it. Press the paper firmly to avoid any bubbles or wrinkles.

*Alternative method – Black marker as a replacement
A cost-effective alternative to engraving paper is a black permanent marker. This involves covering the entire surface to be engraved with black ink to better absorb the laser energy and enable precise laser marking on ceramic.

However, choosing the right marker is crucial. Some markers leave white gaps or smudge easily on curved surfaces, which can affect the final result. When coloring the mug, previously applied color may also peel off, creating unsightly white spots. Such negative effects should be avoided.

Step 3: Setting up the ceramic laser engraving machine
After the surface has been prepared, it is time to set up laser engraving of ceramic with the LaserPecker LP2.
Prepare the machine:
1 - Assembly: Secure the LP2 with two screws – one for the electric stand and one to secure the machine.

2 - Wiring: Connect the power cable to the right side of the machine. The power light will illuminate when power is applied. Connect the cable between the machine and the stand to enable height adjustment.

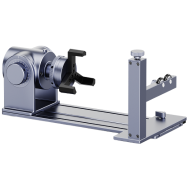
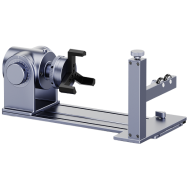
Since a cylindrical mug is being engraved, the electric roller is required. Connect the cable between the machine and the roller. Make sure the LaserPecker logo on the roller is facing the same direction as the logo on the engraving plate—this ensures the laser engraving for tiles and ceramics is done in the correct direction.

Start engraving process:
1 - Bluetooth connection: Connect the LP2 to the app and turn on the electric scooter.
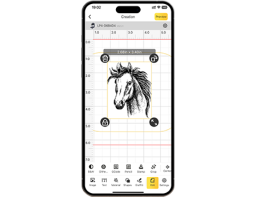
2 - Upload your design: Upload your design to the app and make sure it's correctly aligned. For example, if the rim of the cup is on the left, the top of the design should be on the right. If necessary, the design can be mirrored.
3 - Focus adjustment: Use the L-shaped ruler and place it on the engraving surface. Alternatively, measure the 11 cm distance between the laser and the surface.

4 - Engraving preview: Check the engraving area in the app and adjust the size and position.

5 - Set settings: Resolution: 2K, Power: 100%, Engraving depth: 9%, Passes: 1

To explore the recommended LaserPecker engraving and cutting parameters, take a look at the settings table . This applies to all LP machines, including LP1, LP2, LP3, LP4, LP5, and LX1.
Step 4: Now engrave ceramics with a laser!
Now the engraving can begin! After completing the laser engraving on ceramic, carefully remove the engraving paper with a brush – and your engraving is complete! The pattern remains waterproof and resistant to minor scratches.

FAQs: Frequently asked questions about ceramic laser engraving
Q1: How does laser engraving on ceramic work?
Laser engraving on ceramics uses a focused laser beam to etch or mark designs onto ceramic surfaces. The laser's energy alters the surface, creating precise and detailed engravings.
Q2: Is laser engraving on ceramic permanent?
Yes, laser engraving on ceramic is generally permanent. The laser physically alters the surface, creating a permanent mark that won't fade with wear or cleaning.
Q3: Are there any limitations to laser engraving tiles and ceramics?
Although laser engraving on ceramic tiles is very effective, particularly fine details or complex patterns can be more difficult to achieve on certain types of ceramic. It's recommended to conduct a test on the specific tile beforehand.
Q4: Can ceramic mugs be laser engraved without damaging them?
Yes, with the right laser engraving settings, it is possible to engrave ceramic mugs without compromising their structure. Precise control of the laser intensity allows you to achieve the desired engraving without damaging the ceramic.
Q5: Is laser engraving on ceramic tiles possible without ink?
Yes, laser engraving ceramic tiles does not require additional ink. With the right technique, such as using black engraving paper, a permanent mark can be achieved without the need for an ink coating.
Q6: Which laser types are suitable for ceramic engraving?
Ceramics such as stoneware or porcelain consist primarily of clay minerals, feldspar, and quartz. Infrared lasers, such as fiber lasers (1064 nm) or CO₂ lasers (10600 nm), are particularly suitable for laser engraving on ceramics. However, visible wavelengths, especially blue diode lasers at approximately 445 nm, often produce better engraving results on ceramics.
Q7: Why is a blue diode laser the best choice for ceramic engraving?
The blue diode laser has a shorter wavelength and achieves a beam thickness of only 0.07 mm. With a power of 10-15 watts, it ensures fine details, minimizes heat generation, and reduces material damage. This makes it an ideal choice for laser marking on ceramics.


