We encounter paper every day – in writing, printing, packaging, and crafting. It's a simple material, but did you know that with modern laser technology, you can turn even plain paper into impressive works of art?
In this guide, you'll learn what laser engraving on paper means, which paper types are suitable for laser engraving, and how to get started with a laser engraver for paper step by step. You'll also get creative ideas for your own projects and learn how to engrave paper with a laser – no prior experience required!
In this article:
- Part 1: What is paper laser engraving and which machine do you need?
- Part 2: Which types of paper are suitable for laser engraving?
- 🔨 Practical example: Laser engrave a paper couplet in 5 easy steps
- 💡 Creative projects: 6 recommended ideas for paper engraving for beginners

Part 1: What is paper laser engraving and which machine do you need?
1.1 What does paper laser engraving mean?
"Can you laser engrave paper?" – Absolutely! Similar to laser cutting, laser engraving paper is a fascinating technique that uses a precise laser beam to burn patterns, motifs, or text directly into the paper surface. This creates strong contrasts and high-quality engraving effects, especially on colored paper.

Laser engraving on paper is ideal for creating creative, high-quality greeting cards, invitations, art projects, or custom packaging. Whether fine lines, illustrations, or lettering—with the right technique, even plain paper becomes a design element.
1.2 Which machine do you need to engrave paper?
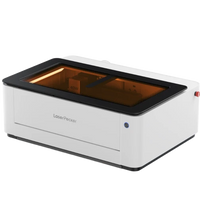
To begin engraving paper, you'll need a suitable laser engraver for paper. This specialized laser machine for paper operates at low power but with high precision—ideal for delicate engravings without burning or damaging the paper.

Part 2: Which types of paper are suitable for laser engraving?
Not all paper is the same—and not all paper is equally suitable for laser engraving. However, there are a variety of paper types that are ideal for this technique. Particularly popular for laser engraving on paper are:
① Standard paper – thin, white paper, e.g. for tests or simple samples
② Cardstock – slightly thicker, perfect for invitations, greeting cards or packaging
③ Kraft paper – brown, sturdy paper that creates a natural look
4 Scratch Paper – for creative effects or child-friendly projects
⑤ Thermosensitive paper – reacts to heat and is suitable for special engraving applications
The thickness of paper for laser engraving typically ranges from 0.05 mm to 0.6 mm or more, depending on the type and intended use. It's important that the paper is not too thin to avoid burn-through, and not too thick to allow for clean engraving on paper.

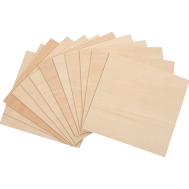
(Paper for laser engraving)

(Ideas for laser engraving paper)
Practical example: Laser engrave a paper couplet in 5 easy steps 🔨
Laser engraving paper is easier than many people think! Whether it's patterns, sayings, or illustrations – with the right preparation and the right equipment, you can create impressive paper engravings in just five steps. In this case study, we'll show you how to turn a simple sheet of paper into a creative work of art.
Step 1: Choose the right paper
For our laser engraving on paper, we use special paper that's particularly well-suited for laser engraving. This so-called laser engraving paper is heat-resistant, has a stable structure, and ensures clean engraving results – without tearing or charring.
Step 2: Choose the right laser engraving machine for paper
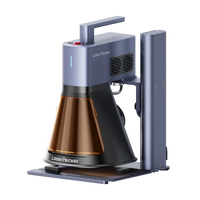
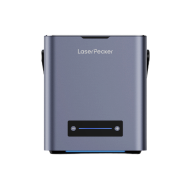
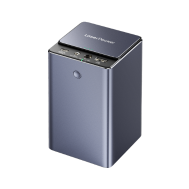
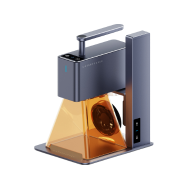
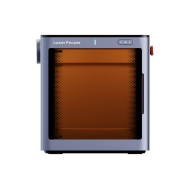
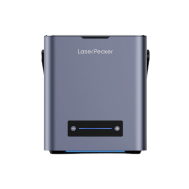
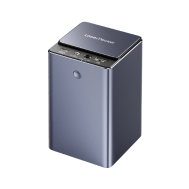
For this project we recommend the LaserPecker 4 (LP4) , – a powerful, dual-mode laser engraver for paper that can handle both delicate engravings and other materials. This laser machine for paper offers precise control and high levels of safety during engraving.
Step 3: Create your engraving design
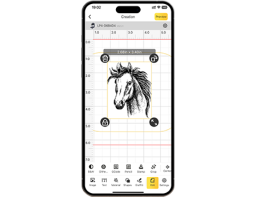
Use the LaserPecker Design Space app & software to design or import your desired motif, pattern, or text. Pay attention to the size, cutout, and details of your template—because every millimeter counts when engraving on paper.

If you are still missing the right inspiration, take a look at our CraftZone – there you'll find tons of creative suggestions and design ideas from laser enthusiasts around the world, especially for engraving paper or other materials!

Step 4: Set up your laser machine for paper
Before you begin, make sure your paper laser engraver is turned on and properly connected to your computer or mobile device—for example, via USB cable or Bluetooth.
Prepare your design: Open your graphics software and load the design you want to engrave on your paper.
Check focus: Activate preview mode and check if the laser is correctly focused. You have two options:
Method 1: If you're using the LaserPecker 4 (LP4), you can use a ruler to measure the distance between the front of the paper and the laser head. The recommended distance is 15 cm (150 mm).
Method 2: Alternatively, pay attention to the two red dots emitted by the device—if they overlap, the focus is optimal. This will ensure the best engraving results.
Position the paper: Place your paper object (e.g., a gift bag) in the work area of the paper laser machine. Use the preview to check that the design is positioned correctly. If necessary, adjust the size or position of the design.
Set laser parameters: aOpen the settings menu for laser engraving on paper in the software and select parameters such as power, speed and resolution according to the paper type and design complexity.
Recommended paper settings (with LP4):
Power: 10 W (405 nm)
Resolution: 2k
Power: 50%
Engraving depth: 2%
Rounds: 1
A complete overview for other machines such as LP1, LP2, LP3 and LP5 can be found in our settings table for LaserPecker devices .

Step 5: Start your paper engraving now
Check all settings one last time to avoid mistakes – and then press start and watch your design come to life! With laser engraving on paper, your engraving is created using precise light pulses – clean, fast, and detailed.
Creative projects: 6 recommended ideas for laser engraving paper for beginners 💡
Now that you've successfully mastered the case study on paper engraving a couplet, we'd like to introduce you to other exciting projects – ideal for practicing, designing, and inspiring! Whether you want to enhance gift wrap, cards, or thermal paper – with the right laser machine for paper, your creativity knows no bounds.
1. Elegant paper gift bags :
Transform simple gift bags into small works of art by engraving intricate patterns, personalized messages, or festive symbols into the paper. This creates a unique gift wrapping design with a personal touch.

2. Personalized greeting cards
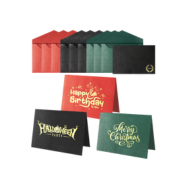
Create personalized greeting cards by engraving names, loving messages, or detailed patterns on cardstock or high-quality paper using your laser engraver. Perfect for birthdays, weddings, or holidays!
3. Artistic bookmarks
Create stylish bookmarks with engraved quotes, images, or patterns. These small accessories are both practical and creative gift ideas—ideal for laser engraving paper.

4. Engraved scratch paper
Design interactive scratch-off images where the laser exposes patterns or text through a black top layer, revealing bright colors underneath—a great project for kids or DIY decorations.

5. Engraved thermal paper
Use laser engraving on paper to create fine lines, text, or even barcodes on thermal paper—ideal for creative receipts, tickets, or original mini-prints.

6. Engraved cardboard sleeves for coffee mugs
Add a touch of class to your coffee mug sleeves with custom engravings—e.g., with logos, messages, or event designs. Perfect for branding or as a personalized gift!
Conclusion
In summary, this guide shows you how easy and effective it is to laser engrave paper. From suitable paper for laser engraving to the correct machine settings and creative applications – every project brings your design to life.
We hope this guide inspires you to explore the world of paper engraving and create your own works of art with your laser paper engraver. Your imagination is the limit!


