Adding a personal touch to your wooden objects has never been easier – thanks to modern laser engraving on wood! Whether you want to add names, quotes, or creative designs – laser wood engraving can produce unique, impressive results.
In this guide, we'll show you what wood laser engraving actually is, which laser engraving machine for wood you need, which wood types are best suited, and how to create your first project in five easy steps. Whether you're a beginner or a crafting pro, this article provides you with the knowledge you need to get started right away.

In this article:
- Part 1: What is laser engraving on wood?
- Part 2: Which types of wood are best suited for laser engraving?
- Part 3: The best laser engraving machine for wood
- Practical example: Engraving wood in 5 easy steps 💡
- Project ideas: P4 recommended wood engraving ideas for beginners
Part 1: What is laser engraving on wood?
Laser engraving on wood—also known as wood laser engraving—is a precise process in which motifs, text, or patterns are permanently burned into the wood surface using a focused laser beam. This technique allows for even the finest details and is often used for personalization, creative projects, or personalized gift ideas.
Thanks to modern laser engraving machines for wood, high-quality results can be achieved, whether in the design of signs, decorations, or the branding of wooden products. The combination of craftsmanship and technology makes laser engraving a popular method in the DIY and design sectors.

Part 2: Which types of wood are best suited for laser engraving?
Can you really work with any type of wood with a laser engraver? Not quite. Selecting the right wood species is crucial for achieving clean, consistent engravings.
What should you pay attention to?
Some wood species respond better to the laser beam than others. The density, grain, and color of the wood significantly influence the engraving result.
Recommended wood types for laser engraving:

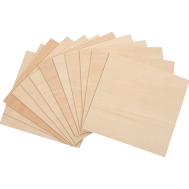
1. Maple, cherry, birch, linden wood (solid wood with uniform density)
These woods are characterized by their homogeneous structure, which allows for particularly precise engravings—perfect for fine lettering and detailed patterns.
2. Walnut, Oak (Fine grain and smooth texture)
Thanks to their fine surface, walnut and oak deliver excellent results when laser engraving wood – ideal for creative designs and artwork.
3. Birch (Versatile and visually appealing)
The light color and even surface make birch particularly popular for laser engraving on wood, whether for personalized gifts, decorative elements or branding projects.
And what about plywood or laminated wood?
Plywood is also generally suitable for laser engraving, provided it's made of high-quality material. However, the adhesive used between the layers can affect the result. Therefore, we recommend conducting a test engraving beforehand.
Part 3: The best laser engraving machine for wood
The machine used for laser engraving on wood works with a focused laser beam that precisely targets the wood surface. Using special lenses, the laser beam is bundled and focused on a fine point, which serves as a precise engraving tool. This transforms a simple piece of wood into a unique work of art.

Components of a laser engraving machine for wood:
Laser source: The laser source generates the concentrated light beam. The power can be individually adjusted depending on the desired engraving depth or effect. A high-quality laser for wood engraving ensures clear and consistent results.
Controller: The controller is the heart of the machine. It interprets the design template and controls both the movement and power of the laser. This allows parameters such as speed, power, and resolution to be precisely adjusted.
Laser head: The laser is directed onto the wood surface via the laser engraving head. The head moves according to the control commands, enabling very precise and controlled laser engraving of wood.
Work surface: This is where the piece of wood is placed. Laser engraving machines for wood are available in various sizes, depending on the size of the workpieces you want to process.
Y-axis: The vertical movement of the laser engraving system is controlled by the software along the Y-axis. This is especially important for precise details in laser wood engraving.
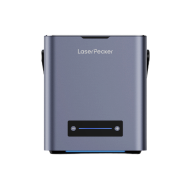
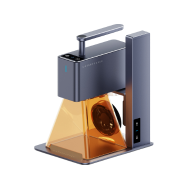
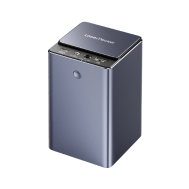
Our recommendation: LaserPecker 2 (LP2)
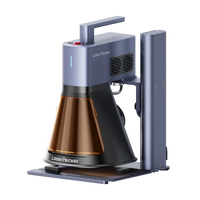
The LaserPecker 2 is a compact and powerful laser engraver for wood, ideal for beginners or mobile applications. Despite its compact size, it delivers precise engravings on various wood types—perfect for DIY projects and personalized gifts.
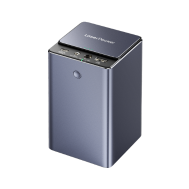
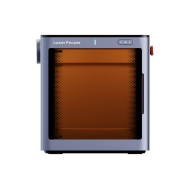
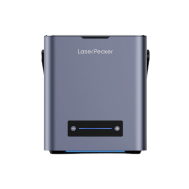
Even better: LaserPecker 4 (LP4) – More than just engraving
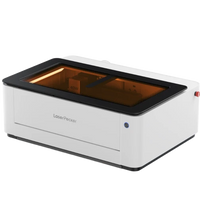
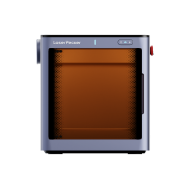
If you are looking for more power, higher resolution, a larger engraving field or the ability to laser cut and engrave wood, you should take a look at the LaserPecker 4 .
💡 Practical example: Engraving wood in 5 easy steps
Now that we know the basics of laser engraving on wood and the suitable wood types, let's get straight to the practical side: We'll show you how to engrave a cute cat photo on wood in just 5 easy steps. Let's get started!
Step 1: Choose the right wood
Choosing the right wood is crucial when laser engraving a cat photo. We recommend basswood—it's soft, has an even grain, and a light color that showcases the engraving particularly well.
In addition to selecting the wood, preparing wood for laser engraving also involves some surface work. You may be wondering: How do you prepare wood for laser engraving?
It's easy: Sand the surface smooth and do a test engraving on a scrap piece first. This way, you can determine the correct settings before engraving the final workpiece.
Also, make sure to use only laser-safe basswood to avoid safety risks.

Step 2: Choose the right laser engraving machine for wood
For this project, we recommend the LaserPecker 2 (LP2) – a compact and efficient wood laser engraver ideal for precise engraving. Its portable design allows you to work flexibly without sacrificing quality.

Step 3: Prepare your engraving design
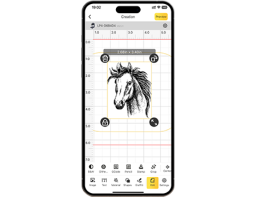
Use the LaserPecker Design Space app and software to upload your desired image—in this case, a cat photo—or design it directly. Pay attention to the correct size, details like text or patterns, and positioning on the workpiece.
Step 4: Set up your wood engraving laser machine
First, place the wood in the work surface of your laser engraving machine and, after switching it on, set the correct focus distance.

If you are using the LaserPecker 2 (LP2), simply fold the L-shaped ruler down so that it touches the wood surface. Alternatively, you can manually measure the distance of approximately 11 cm between the laser and the wood surface.
Then you connect your wood laser engraver to your computer or mobile device – depending on the model, via USB, Bluetooth or another suitable interface.

Now open the LaserPecker Design Space (LDS) software and load your prepared design. Use the preview function to see how the image will appear on the wood. Adjust the position and size to ensure everything fits perfectly on your workpiece.
For laser engraving on wood with the LP2 we recommend the following values:
Resolution: 2K
Performance: 50%
Depth: 5%
Note: When working with a wood engraving laser with a 450 nm blue laser, be sure to wear safety goggles or use a laser safety cap, as the blue laser beam can be harmful to your health.
Step 5: Start your wood engraving now
Double-check all settings carefully to avoid any errors. Then start the engraving process and keep an eye on your laser wood engraving machine while it's working.
Once completed, you can remove your engraved piece of wood and check the quality of the result. Safety note: Laser engraving on wood can produce smoke or potentially toxic gases. Therefore, wear a mask or use an air purifier to protect yourself.

Project ideas: 4 recommended wood engraving ideas for beginners
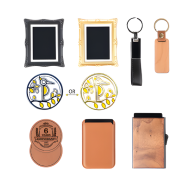
Want to get started with laser engraving on wood? Then these four simple yet creative projects are perfect for practicing! All of them can be created with a compact wood laser engraver or another suitable laser for wood engraving.
1. Wooden keychain :
Create personalized wooden keychains with finely engraved patterns, names, or small messages. These small accessories are quick to create and are ideal for getting started with laser engraving wood.

2. Wooden cutting board :
Add a personal touch to wooden cutting boards with decorative patterns or personalized engravings. A laser wood engraving ensures flawless results—whether it's floral decorations or a witty cooking saying.
3. Bottle opener with wooden handle :
Engrave unique designs or names on bottle openers with wooden handles. This project is not only practical but also makes a stylish gift idea. Ideal for laser engraving wood with a reliable laser wood engraving machine.

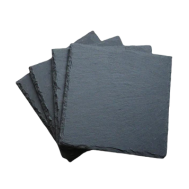
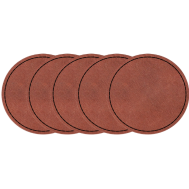
4. Wooden coasters :
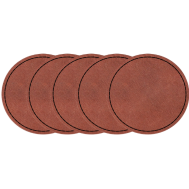
With engraved patterns, monograms, or motifs, coasters can be transformed into real eye-catchers. They're a simple project for your first laser wood cutting and engraving and make a great personalized decorative element for your home.


