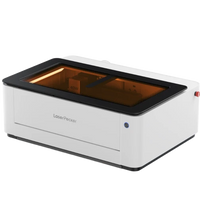
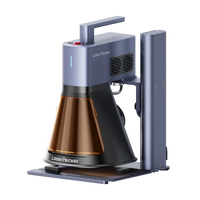
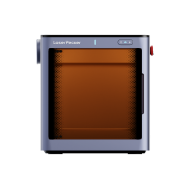
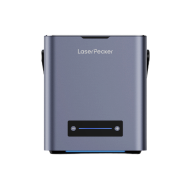
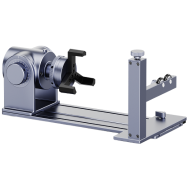
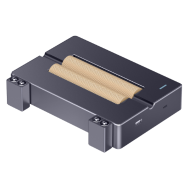
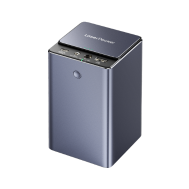
Laser technology has opened up new creative possibilities, and one of the most exciting techniques is wood embossing—a process that uses grayscale files to create raised or sculptural textures directly on the wood surface. With the right settings and equipment, you can create intricate, three-dimensional designs that look hand-carved—without ever picking up a chisel.
This blog explains what wood embossing is, how it differs from conventional engraving, and how to perform it step by step using a laser engraver.

This article contains:
- Part 1: What is wood embossing?
- Part 2: Which wood is best suited for laser embossing?
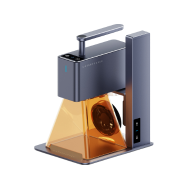
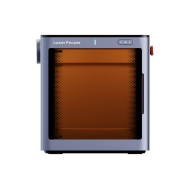
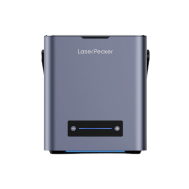
- Part 3: Step-by-step instructions for wood embossing with the LaserPecker LP5
- Part 4: Achieve a 3D effect on wood using deep laser engraving
- Part 5: How to properly clean and polish wood after embossing
- Part 6: Popular questions about wood embossing
Part 1: What is wood embossing?
Wood embossing is a process that creates a striking (3D) design or texture on the wood surface. It differs from engraving, which removes material to create indented patterns. However, embossing can be more time-consuming and requires a certain level of skill.
Laser wood embossing is a modern 3D laser engraving technique that uses grayscale images to control the depth of the laser engraving. Darker areas in the grayscale image are engraved deeper, while lighter areas remain raised, creating a three-dimensional, textured effect.
Compared to the traditional wood embossing process, laser embossing of wood is easier and faster and can produce finer details and more pronounced 3D effects on wood surfaces.
Part 2: Which wood is best suited for laser embossing?
The success of laser embossing depends on the type of wood you use. Ideally, choose wood types that engrave cleanly, evenly, and without excessive burning or resin exudation.
Suitable for:
Linden wood: Soft, evenly grained and ideal for fine details.
Birch plywood: Cost-effective and easy to engrave.
Maple: smooth surface and ideal for high-contrast embossing.
Cherry wood: Dense, richly grained wood with deep engravings and a warm finish.
Not suitable for:
Resin-rich woods such as pine
Softwoods
easily ignitable woods
Uneven structure
Part 3: Step-by-step instructions for wood embossing with the LaserPecker LP5
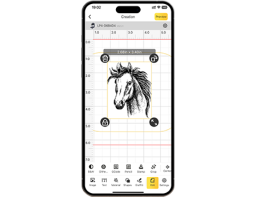
Step 1: Import the image into LDS. A deep map image is required for 3D laser engraving. You can download a deep map image from the internet or the LaserPecker CraftZone , or create one using third-party software.
This guide uses the image from the LDS software clipart as an example.

Step 2: Select the image, then choose 3D Grayscale from the Effects menu and specify either concave engraving (deep laser engraving) or convex engraving (laser embossing). Concave engraving engraves directly downwards into the design to create a recessed effect, while convex engraving removes the surrounding areas of the design to create a raised effect.

Step 3: Select the number of layers. The valid range is [0-254]. The more layers, the smoother the 3D embossing and the deeper the engraving, but the more time is required. Fewer layers result in a coarser 3D embossing and require less time.

Step 4: In the laser engraving control panel, you can view the engraving area of each layer using the Layer Preview option. If the first or last layers are completely black or white, you can adjust the number of layers to reduce the engraving time.
Step 5: Adjust the image size and position as needed so that the engraving size matches the wood size.
Step 6: Set the engraving parameters by selecting the 450 nm light source, a resolution of 2K, a power of 70%, a depth of 1%, and a layer height of 0.02.
Step 7: Position the material in the appropriate location, preview the engraving, and adjust the focus. During the preview, fine-tune the actual position of the material to ensure the engraving area is as centered as possible.
Step 8: Once all settings are complete, start the engraving.

Tips for laser embossing wood
Since wood is a soft material, the engraving depth can be relatively deep. It is recommended to use wood with a thickness of at least 15 mm for 3D embossing. If the engraving depth is deep, you can increase the layer height setting accordingly.
After engraving, you can clean any stains on the surface with bleach: Mix equal parts water and bleach, let the wood soak for 5 to 10 minutes, then remove the bleach and rinse thoroughly with clean water. After it has completely dried, apply a wood varnish to improve the overall texture and give the wood a clean and aesthetically pleasing appearance.
Part 4: Achieve a 3D effect on wood using deep laser engraving
In addition to utilizing 3D functions, deep laser engraving can also create an impressive 3D engraving effect on wooden surfaces. The key to this lies in the use of high-contrast grayscale images. The grayscale value of each pixel (in the range of 0 to 255) determines the engraving depth: the lighter the color, the shallower the engraving; the darker the color, the deeper the engraving.
In general, grayscale images converted from color images often have softer transitions and more midtones (e.g., gray). This makes it difficult for the engraver to accurately interpret depth, resulting in flatter, less defined engravings with less depth and layering. Therefore, high-contrast grayscale images are essential for precise engraving and strong 3D effects.
Here's how to achieve a 3D effect using deep laser engraving:
Step 1: Import the image into LDS. You can download images online or create them using third-party software. In this tutorial, we'll use a sample image from Craftzone.
Step 2: Select the image and then select the "Dither" effect from the Effects menu.
Step 3: Adjust the image size and position as needed so that the engraving size matches the wood size.
Step 4: Set the engraving parameters by selecting the 450 nm light source, a resolution of 2K, a power of 30%, an engraving depth of 30%, and setting the number of engraving passes to 3. The more passes, the deeper the engraving.
Step 5: Position the material in the desired location, preview the engraving, and adjust the focus. During the preview, fine-tune the actual position of the material to ensure the engraving area is as centered as possible.
Step 6: Once all settings are complete, start the engraving.
Step 7: Dust or smoke may be generated during the engraving process. It is recommended to place a high-speed fan near the material to ensure a clean engraving environment. This will prevent dust from settling on the surface and ensure a better engraving result.
Part 5: How to properly clean and polish wood after embossing
Once your wood embossing is complete, finishing will help to highlight the details. Follow the steps below to give your project a clean, professional look.
Step 1: Light bleach wash
Use a simple bleach to lighten the wood. Don't worry—you don't need anything fancy. Just take a bottle of regular household bleach. Put equal parts water and bleach in a bowl, stir the mixture gently, and place the engraved piece of wood into the solution. Let it soak for 5 to 10 minutes before rinsing it thoroughly with clean water to stop the bleaching process.

Step 2: Dry the wood completely
Place the piece in a dry, well-ventilated room and allow it to air dry completely. This step is important – trapped moisture can affect the final finish.
Step 3: Adding the final touches
Once the wood is dry, apply a thin coat of wood varnish or oil with a soft brush or cloth. This will accentuate the natural grain of the wood and add depth to your embossed pattern, while protecting the surface from wear and moisture.
Part 6: Popular questions about wood embossing
1. Is it possible to emboss wood with a laser?
Yes. Modern laser engravers like the LaserPecker LP5 can create detailed 3D effects on wood and offer better results than conventional embossing machines.
2. Can a diode laser emboss wood?
Yes, of course. The LP5's diode laser supports the embossing model and is powerful enough (up to 20 W) to engrave dimensional reliefs into soft and medium-weight woods.
3. What is the difference between laser engraving and embossing on wood?
Laser engraving typically marks or cuts the surface to a uniform depth.
Laser engraving uses a variable depth engraving technique to create raised or recessed 3D effects, adding texture and dimension to your design.


