


MDF, or medium-density fiberboard, is an engineered wood product made from wood fibers and resin binders. Due to its smooth surface and uniform density, MDF is frequently used for furniture, cabinetry, flooring, and decorative applications.
In this guide, we'll take a comprehensive look at laser cutting MDF – from the basics to the finished project! We'll show you a case study where we laser cut an MDF candle holder in 5 easy steps, and share creative ideas and designs for your own MDF laser projects. Let's dive into this exciting journey together!

This article contains:
- Part 1: Overview of MDF laser cutting
- 1.1 What is MDF laser cutting?
- 1.2 How does laser cutting of MDF work?
- 1.3 MDF laser cutting machine
- 1.4 Which MDF thicknesses can be laser cut?
- Case study: Laser cutting MDF candle holders in 5 steps 💡
- Projects: 6 recommended MDF laser cutting projects for beginners
Part 1: Overview of MDF laser cutting
1.1 What is MDF laser cutting?
Laser cutting of MDF, also known as laser cutting of MDF, is a precise method for cutting MDF into various designs, letters, or shapes. Laser cutting of MDF effortlessly transforms creative ideas into impressive craft and decorative objects.

(MDF laser cutting ideas)
1.2 How does laser cutting of MDF work?
Is MDF suitable for laser cutting? Yes! When laser cutting MDF, a high-energy laser beam is focused onto the surface of the material. The resulting heat melts and vaporizes the MDF along the cutting line – creating a clean and precise cut.

Because the laser beam is controlled by software, even intricate and complex designs can be cut with high precision. Compared to other MDF cutting methods, this results in smooth edges and a minimal kerf, making it ideal for highly detailed patterns and shapes.
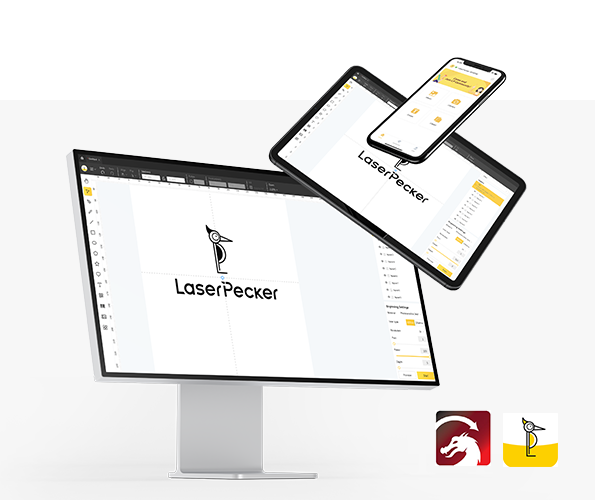
1.3 MDF laser cutting machines
To laser cut MDF, you need a laser cutter, which is crucial for precise results and an efficient workflow. Various types are available on the market (e.g., diode lasers, CO₂ lasers, and fiber lasers). Many people ask: "Which laser is best suited for laser cutting MDF?" or "What tools do I need to cut MDF?"
It really depends on your project. For DIY projects or small MDF laser cutting projects, diode lasers like the LP5 , LP4 , or LP2 are a good choice. These MDF laser cutting machines are easy to use and budget-friendly compared to other cutting machines.

1.4 Which MDF thicknesses can be laser cut?
The thickness of medium-density fiberboard (MDF) that can be laser-cut depends on the power and type of machine. Generally, MDF boards ranging from 3 mm (1/8 inch) to 19 mm (3/4 inch) in thickness can be laser-cut.
A thickness of 3–9 mm is recommended for a 10W 450nm diode laser . For thicker sheets, it may be advisable to perform the cut in several passes to achieve a clean result.
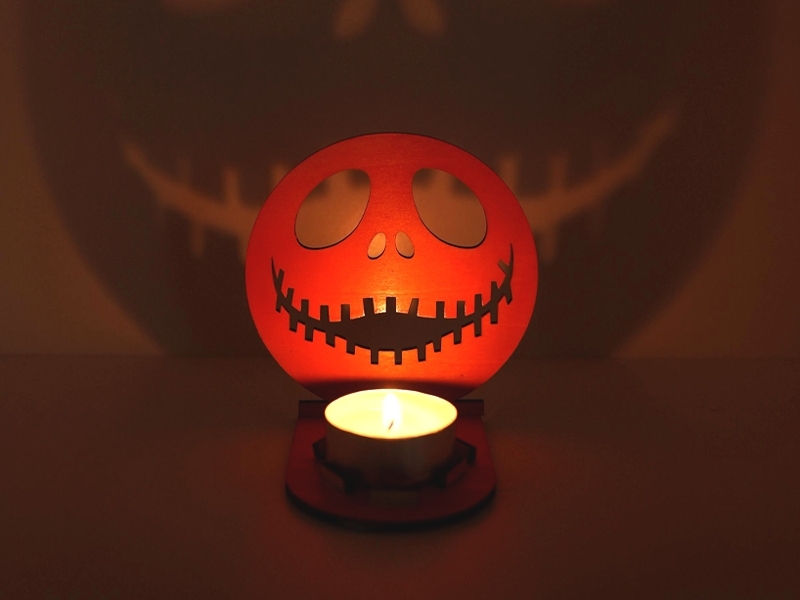
💡 Case study: Create a laser-cut MDF candle holder in 5 steps
Preparation checklist for laser cutting an MDF candle holder:
- Cutting material: 3 mm MDF board to be cut with a laser
- Cutting machine: Diode laser cutter
- Cut design: designs, letters, shapes, etc.
Can you cut MDF with a laser? Yes! The process is straightforward. So, how long does it take to cut MDF? Don't worry – just follow these 5 steps and you'll have your laser-cut MDF projects in minutes!
Step 1: Choose your material – 3 mm MDF board
Choosing the right material is crucial for laser cutting MDF. Different materials require specific laser settings to achieve precise results. Also, be sure to use laser-compatible MDF to avoid safety risks.

Step 2: Choose the right laser cutting machine for MDF
Here we recommend the LaserPecker 4 (LP4) , which is particularly suitable for MDF laser projects.
In addition to the LP4, you can also choose the LP5 , equipped with a 20W 450nm diode laser and a speed of up to 10,000 mm/s – ideal for precise MDF cuts. For beginners with a smaller budget, the LaserPecker LP2 is also a reliable option. While less powerful than the LP5, it still delivers solid results for simple MDF projects.
Or you could opt for the LaserPecker LX2 . With 20W/40W/60W diode laser options, it is designed for cutting larger materials – the perfect choice for large-format MDF projects.
Step 3: Create your pattern design
Use LaserPecker design software or third-party tools like Photoshop to create or import your desired design. Consider the size, shape, and details of the design.
*Also visit the LaserPecker CraftZone for inspiration or to purchase MDF design files online.
Step 4: Set up the MDF laser cutting machine
First: Make sure your device is switched on and connected to your computer or smartphone (WiFi, USB, Bluetooth, etc.).
Second: Open the LaserPecker Design Space software and upload your design (formats such as JPG/PNG/G-code/SVG are compatible).
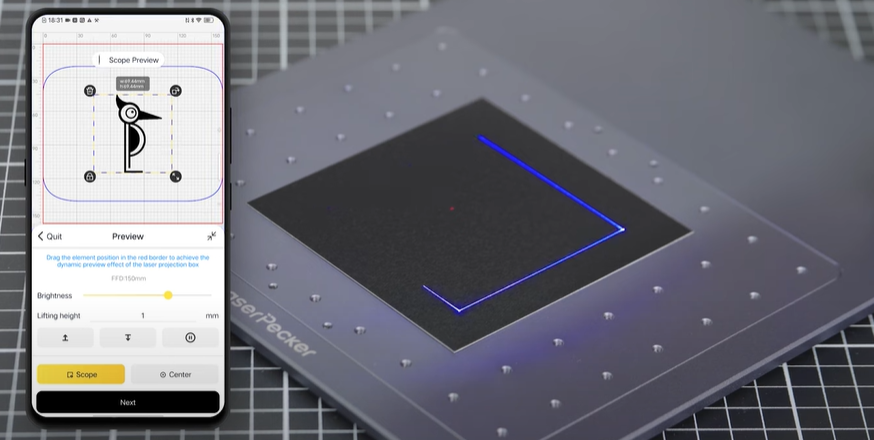
Third: Place your material in the work area, activate preview mode, and ensure the laser is correctly focused.
Fourth: Check if your design fits correctly on the MDF surface. If necessary, adjust the size and position.
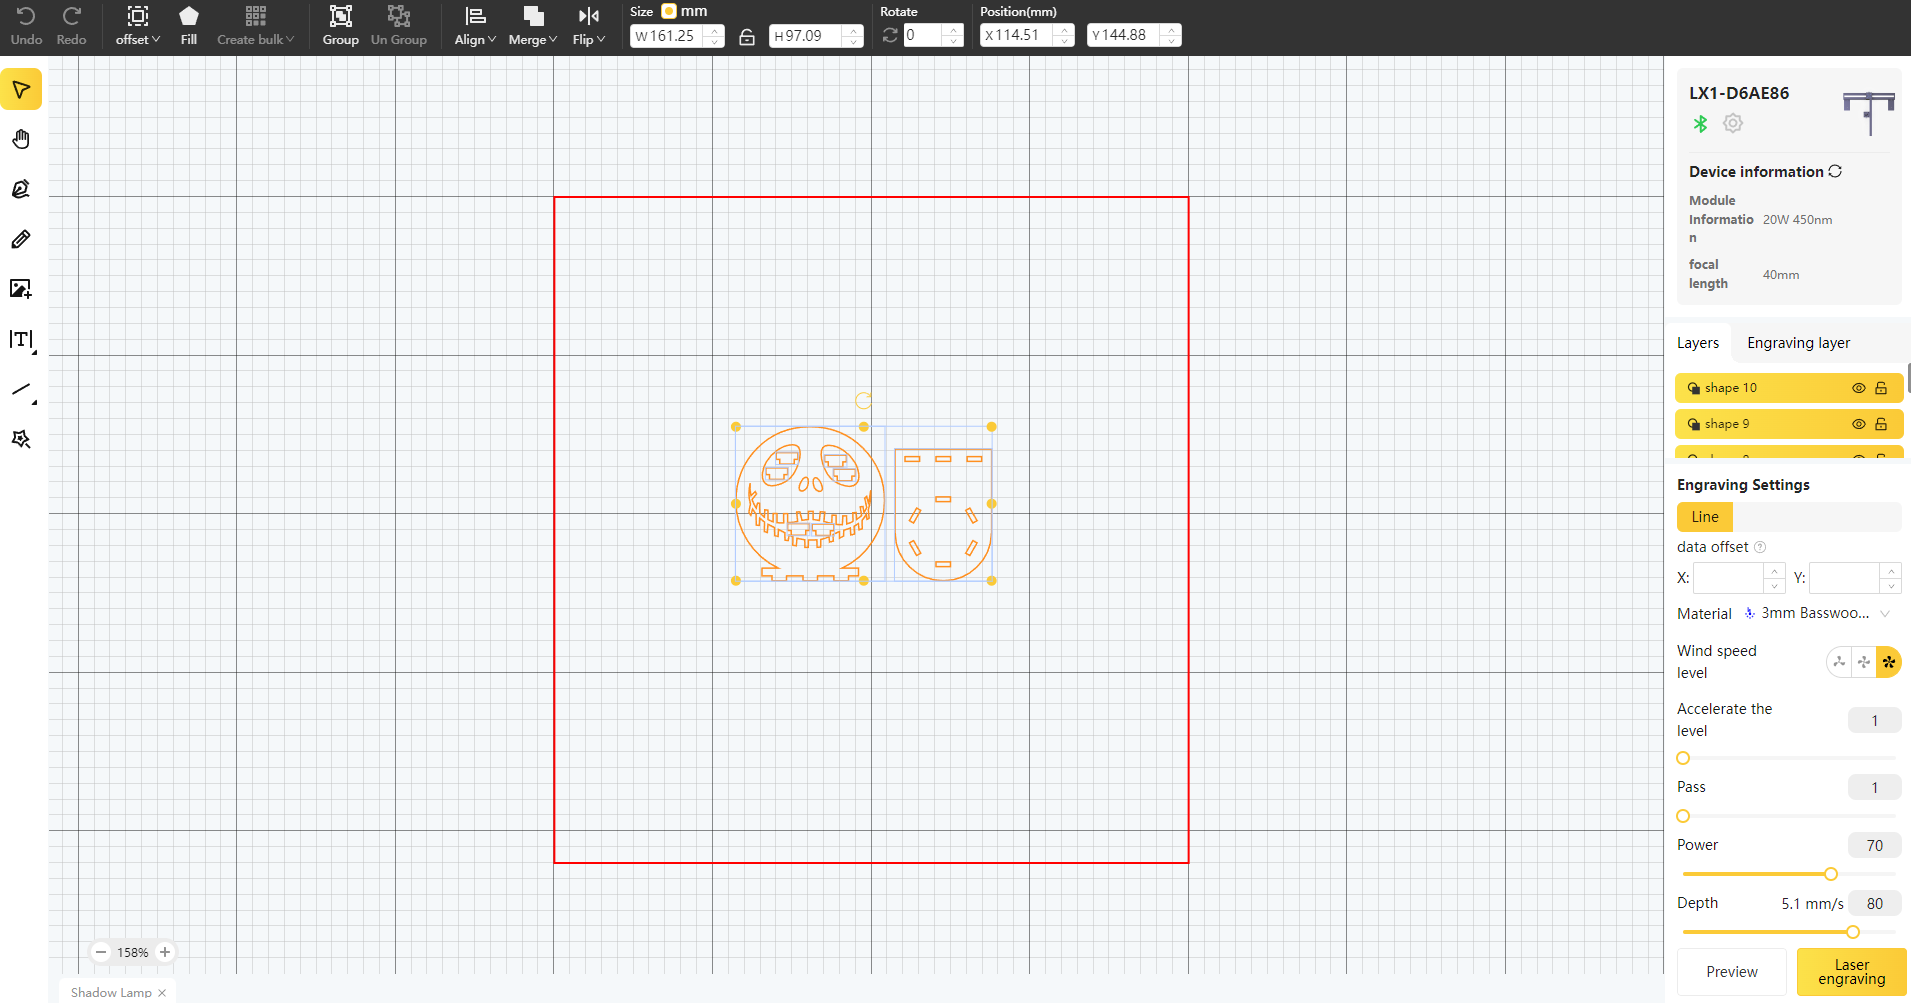
Finally: Open the laser settings and adjust parameters such as power, speed, and resolution to suit the MDF and the complexity of the design. You might be wondering, "How much laser power is needed to laser MDF?" Don't worry, here's the answer!
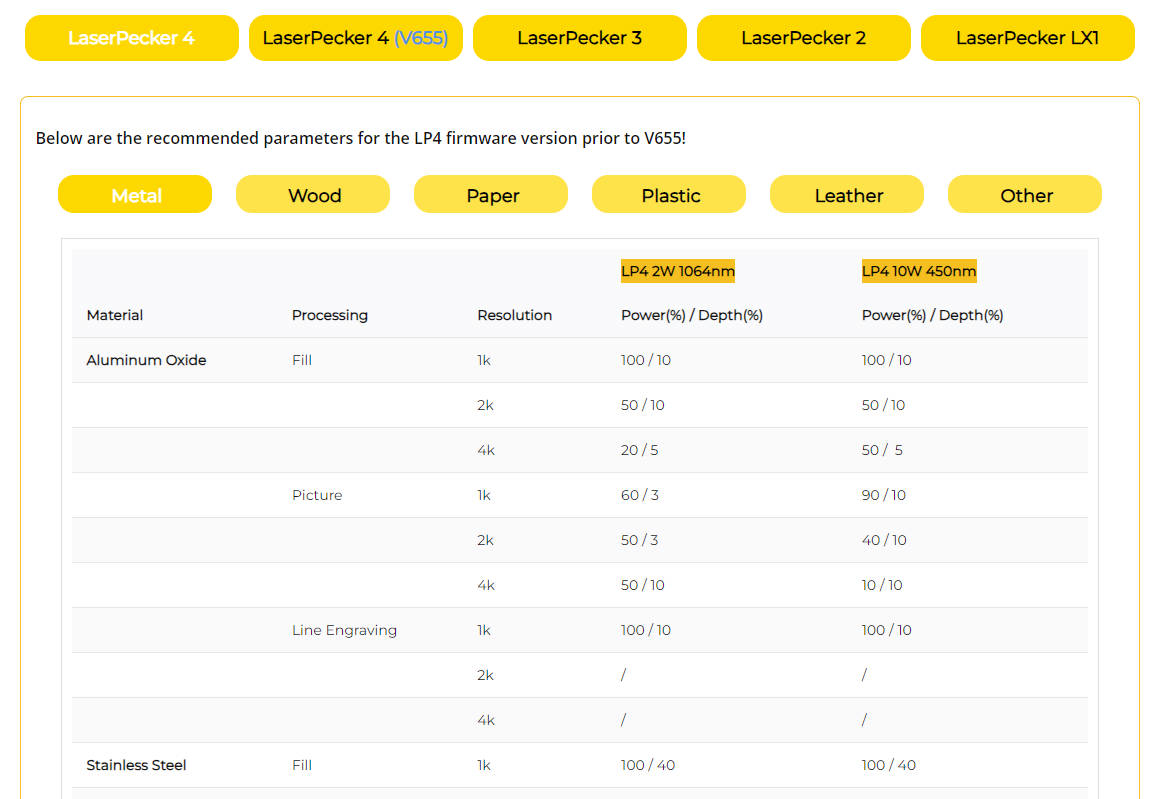
For best results with the LaserPecker 4 for MDF, we recommend: 10 W 450 nm diode laser; Resolution: 1k; Power: 100%; Depth: 95%; Pass-through: 1
With precise control over power and depth, MDF boards can be laser-cut without charring the edges. So if anyone asks, "How do you cut MDF without burn marks?" – now you know!
When working with a laser cutter, always wear safety glasses or use a protective hood to protect your eyes and body from damage caused by the blue laser light.
Please also note that cutting can produce smoke or gases. Wearing a mask or using an air purifier is essential for safety.
Further recommended LaserPecker cutting and engraving parameters can be found in the table for all models such as LP1, LP2, LP3, LP4 and LP5.
Step 5: Start the MDF laser cutting now
Double-check all settings to avoid any errors. Then press "Start" and watch your design take shape. Keep an eye on the process – and you're done!
After cutting, you can further decorate the MDF candle holder with patterns or engravings. Laser engraving on MDF is ideally suited for this.
Creative projects: 6 recommended MDF laser cutting projects for beginners 💡
Want to try laser cutting MDF? We've put together five beginner-friendly projects that combine creativity and craftsmanship.
1. Laser-cut MDF airplane ✈️
A simple yet stylish model – ideal for learning precise cutting and assembly techniques. Perfect as a desk decoration or a fun DIY project!

Source: Laser-cut MDF airplane
2. Laser-cut MDF lamp
Create an impressive MDF lamp with intricate cutouts that cast beautiful patterns onto the walls.
3. Laser-cut MDF Wheel of Fortune 🎡
You can create a rotating wheel of fortune for games or decisions using a laser. Ideal for events, classrooms, or just for fun!
4. Laser-cut MDF coasters in the shape of sheep
With the laser you can make a cute and practical set of coasters in the shape of a sheep.

Source: MDF coaster sheep
5. Laser-cut MDF necklace
Create a stylish and lightweight MDF necklace with detailed patterns. Engraving allows you to further personalize your piece of jewelry.

6. Laser-cut MDF decoration
MDF decorations lend your desk an artistic touch. Whether for everyday decoration or festive occasions – laser engraving meets your requirements for engraving and laser cutting MDF.

Source: Laser-cut MDF decoration
Conclusion
In summary, laser cutting of MDF offers versatility and precision. Laser-cutting MDF can transform it into intricate designs and functional products with clean edges and detailed patterns. It opens up endless possibilities – from artistic works and industrial applications to personal projects.


