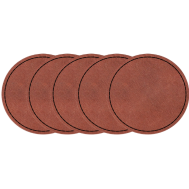
Engraved bricks are a timeless way to add personal touches, commemorate special events, or leave lasting messages in public spaces, monuments, and garden paths. Whether you're creating a single decorative piece or managing a large-scale fundraising project, choosing the right engraving method is crucial to ensure durability, clarity, and style.
In this guide, we'll introduce four effective methods for engraving bricks—from cutting-edge precision tools to hands-on DIY approaches—to help you find the one that best fits your needs, budget, and project size.

In this article:
Method 1: Engrave bricks with a laser engraving machine
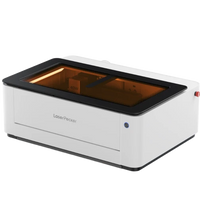
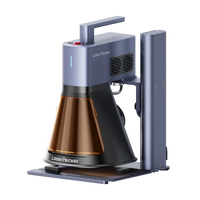
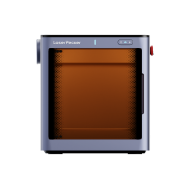
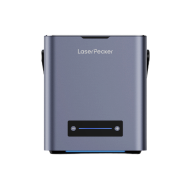
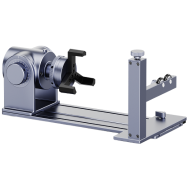
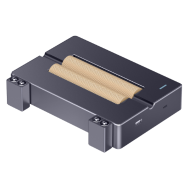
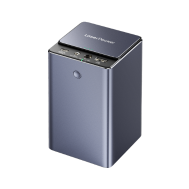
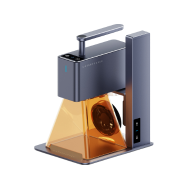
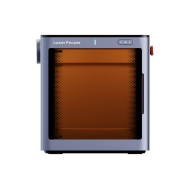
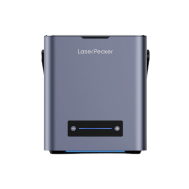
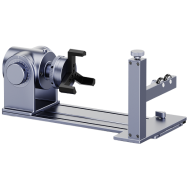
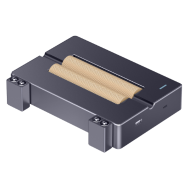
Laser engraving on bricks—similar todeep engraving on stone —allows for precise and clean personalization or marking of bricks, whether for interior decoration, memorial plaques, or fundraising events with paving stones. Powerful fiber lasers can engrave text and designs on smooth brick surfaces by removing the top layer or changing the color.
What you need for laser engraving bricks:
- Fiber laser engraving machine
- Clay or concrete bricks (preferably with a flat, smooth surface)
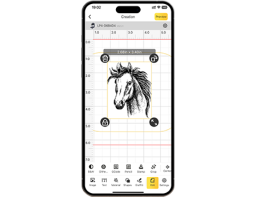
- Design software (e.g. LightBurn, LaserPecker Software & App )
Steps to laser engrave a brick
Step 1: Design your motif
Create or import your text, logo, or pattern into the design software. Adjust the size to fit the engraving area of the brick.
Step 2: Position the bricks
Place the brick on the laser table. Make sure it's level and stable. Use spacers for support if necessary.
Step 3: Adjust laser settings
Set the appropriate power, speed and focus height according to the type of brick (test on a spare brick first).
Step 4: Check the area preview
Use the frame or outline preview to check the alignment. Make fine adjustments as needed.
Step 5: Start engraving
Begin the engraving process. Beware of smoke, dust, or fire hazards. Use air support and ventilation if available.
Step 6: Post-processing
After engraving, remove any soot or dust. Optionally, you can seal the surface to increase durability.
Advantages and disadvantages of laser engraving bricks
👍 Advantages:
High precision with clean lines
Ideal for detailed logos, texts or small graphics
No physical contact = minimal risk of damaging the brick
👎Disadvantages:
The laser machine must be powerful and have sufficient working space
Method 2: Engrave bricks with a rotary tool or engraving pen
Using a rotary tool (such as a Dremel) or an engraving pen is a convenient and cost-effective way to engrave bricks—ideal for DIY projects, artistic signs, or personal garden markers. Although this method is slower than other processes, it allows you complete creative control.
Tools required:
- Rotary tool or electric engraving pen
- Bricks (clay, concrete or stone-based; preferably with a smooth surface)
- Screw clamp, vice or non-slip mat
- Polishing cloth or fine sandpaper
Steps to engrave a brick with a rotary tool
Step 1: Plan the design
Draw directly onto the brick with a marker or place a stencil on it.
Step 2: Secure the bricks
Secure the brick with a clamp, vise, or non-slip mat to keep it stable and prevent it from slipping.
Step 3: Select and insert the correct attachment
Use a diamond cutter or a carbide attachment suitable for hard surfaces such as stone or concrete.
Step 4: Start engraving
Hold the tool like a pen and carefully trace the design. Work slowly and with light pressure for better control of the cut.
Step 5: Cleaning
Remove the dust with a brush and wipe the engraved surface with a damp cloth.
Advantages and disadvantages of brick engraving with a rotary tool
👍Advantages:
Cost-effective and beginner-friendly
Ideal for small or personalized projects
👎Disadvantages:
Labor-intensive and time-consuming
Not suitable for fine details or large series
Requires a steady hand and some practice
Method 3: Engraving bricks by sandblasting
Sandblasting is one of the most common and professional methods for engraving bricks, especially for outdoor applications such as memorial bricks, donor pathways, and garden designs. It involves blasting abrasive material onto a covered surface to engrave the exposed areas of the brick.
Tools required:
- Sandblasting cabin or sandblasting gun + air compressor
- Blasting media
- Bricks (preferably smooth clay or concrete bricks)
- Vinyl stencil or rubber masking
- Transfer film (for applying the stencil)
Steps to engrave bricks by sandblasting
Step 1: Prepare the design
- Use a vinyl cutter or plotter (e.g. Cricut) to create a stencil from sandblast-resistant material.
Step 2: Apply the stencil
Transfer the template to the brick surface. Make sure the edges are tightly sealed to prevent under-blasting.
Step 3: Cover the remaining brick
Cover any areas you want to leave untouched with masking tape or additional stencil material.
Step 4: Set up the sandblaster
Fill the sandblaster with abrasive and adjust the air pressure (usually between 60–100 PSI).
Step 5: Start sandblasting
Wearing full protective equipment, blast the exposed areas in short bursts until the desired depth is reached.
Step 6: Clean and finish
Remove the stencil and any dust. Clean the brick thoroughly. Optionally, you can apply a sealer to increase durability.
Advantages and disadvantages of brick engraving by sandblasting
👍Advantages:
Deep, durable engraving (ideal for outdoor use)
Clean and even results with sharp edges
👎Disadvantages:
Requires a sandblasting system and appropriate safety measures
Dirty process – requires good ventilation or an outdoor area
Less suitable for very small or one-off projects
Method 4: Engraving bricks with a CNC machine
Engraving bricks with a CNC (computerized numerical control) machine is a precise and repeatable method, particularly suitable for detailed designs, consistent lettering, or mass production. The CNC router uses a rotating cutting head to remove the surface of the brick, creating a deep, permanent engraving.
Tools required:
- CNC machine
- Brick (clay or concrete, as flat and smooth as possible)
- Design & CAM software
- Clamping device, vacuum table or template for fixing the brick
Steps to engrave a brick with a CNC machine
Step 1: Create a design
Use design software to create or import your engraving layout. Convert it into toolpaths in CAM software, with appropriate engraving depth and number of passes.
Step 2: Secure the bricks
Clamp the brick firmly onto the CNC bed or use a special fixture to secure it. Make sure it's perfectly level.
Step 3: Insert and adjust the cutter
Use a robust engraving cutter suitable for masonry. Determine the zero point and align the cutter precisely to the brick surface.
Step 4: Set parameters
Adjust the speed, feed rate, plunge depth, and number of passes to the brick material and cutter type. If possible, test the settings on a spare brick first.
Step 5: Start engraving
Start the CNC run and monitor the process for vibrations or tool wear. Use a dust collector or vacuum to remove any dust that may be generated.
Step 6: Post-processing
Once completed, clean the surface and remove any remaining dust. Optionally, you can seal the engraved area to increase its durability outdoors.
Advantages and disadvantages of engraving a brick with a CNC machine
👍Advantages:
High precision and repeatability
Enables deep and durable engravings
👎Disadvantages:
Requires CNC knowledge and setup time
Causes considerable dust and noise
FAQs: Frequently asked questions about brick engraving
1. What are engraved bricks typically used for?
Engraved bricks are often used to honor loved ones, support fundraising events, create pathways in gardens or public spaces, commemorate special events, or as personalized gifts.
2. Which materials are suitable for engraved bricks?
Bricks made of materials such as clay or concrete are preferred because they are durable and well suited to various engraving methods.
3. What designs or messages can be engraved on bricks?
Engravings can include names, dates, quotes, logos, symbols, or even photos. The possibilities are diverse and allow for individual, unique designs.
4. How long do engraved bricks last?
With proper installation and care, engraved bricks can last for decades—often remaining legible and intact for 50 years or more, depending on environmental conditions.
5. Are there any restrictions on the size or font of the engraving?
Practical limitations may arise from the size and surface of the brick. However, modern engraving techniques allow for a wide range of fonts and sizes.
6. How weather-resistant are engraved bricks?
Engraved bricks are generally weather-resistant, especially when properly sealed or coated. A protective coating can protect the engravings from rain, snow, and UV rays.
7. Can already laid bricks be engraved?
Yes, already laid bricks can be engraved, but this often requires special equipment or a special technique. However, it's usually easier to engrave bricks before they're laid.
8. What is the difference between laser engraving and mechanical engraving on bricks?
Laser engraving uses high-precision lasers to produce highly detailed engravings. Mechanical engraving involves physically cutting or scoring the surface of the brick with tools, creating a more handcrafted appearance.
9. Can engraved bricks be customized for specific fundraising events?
Absolutely. Engraved bricks are often used in fundraising events. Organizations sell personalized bricks to raise funds for specific causes and give donors the opportunity to leave a lasting memory.
10. How can engraved bricks be cared for over the long term?
Regular cleaning and the application of protective coatings or sealants will help preserve the bricks. It is also recommended to regularly inspect the bricks for damage or wear to ensure their longevity.
Conclusion
There are several different ways to engrave bricks, each with its own advantages. Laser engraving provides clean details for decorative or indoor applications, while sandblasting and CNC machining are ideal for durable, professional outdoor applications. For personal or artistic projects, the rotary tool offers flexibility and immediate control.
Regardless of which method you choose, engraved bricks can transform ordinary surfaces into meaningful, lasting messages. Choose the technique that suits your tools and your vision—and start carving your message into stone.


