


Engraving leaves with a laser might sound very delicate – and it is – but that's precisely what makes it so unique and fascinating. Whether you're creating eco-friendly artwork, individual wedding decorations, or personalized gifts, engraving leaves lends your creations an organic texture and elegance.
This guide will show you the basics of laser engraving on paper – from how it works and the most suitable types of paper to choosing the right laser machine for beginners. With a little practice, even a simple sheet of paper can be transformed into a true work of art.

This article contains:
Part 1: What is laser engraving on natural leaves?
Laser engraving on natural leaves is a creative process in which a laser engraving device precisely applies patterns, motifs, or text to the surface of natural leaves. Unlike traditional carving or drawing, this method uses a high-precision laser beam that marks the leaf without contact or mechanical damage. The result is a clean, intricate image engraved on the leaf that preserves the leaf's natural beauty while enhancing it with artistic details.

1.1 How does laser engraving work on sheets of paper?
Leaves are extremely delicate, thin, and prone to scorching. Therefore, engraving them requires low laser power and high precision. The laser works by lightly burning or vaporizing the outermost layer of the leaf, creating a visible mark without cutting or damaging the leaf.
For a successful engraving, you should:
- Use low power levels to avoid burning or tearing the blade.
- Set a high engraving speed to minimize heat exposure.
- Use dry, flat sheets of paper to achieve consistent results and precise designs.
The key is finding the right balance between power and speed to gently etch the surface. Even small adjustments can make a big difference in the level of detail and clarity of the result.
1.2 Which laser machine is best suited for engraving leaves?
The best laser machine for leaf engraving is characterized by the following features:
- Precise power control , allowing for very low wattage levels.
- High engraving speeds ensure the laser works quickly and overburning is avoided.
- High resolution , so that fine details on the sensitive surface are clearly visible.
Diode lasers and galvo laser engravers are frequently used for laser engraving on sheets of paper because they offer particularly good control and high accuracy. Devices like the LaserPecker LP5 or LP4 are ideally suited for this type of work. They allow for fine-tuning of power and speed, and thanks to the preview functions, designs can be precisely positioned even on small or irregularly shaped sheets.
If you are just starting out, a compact desktop laser engraver with adjustable parameters is ideal for practicing and experimenting with different types of paper.
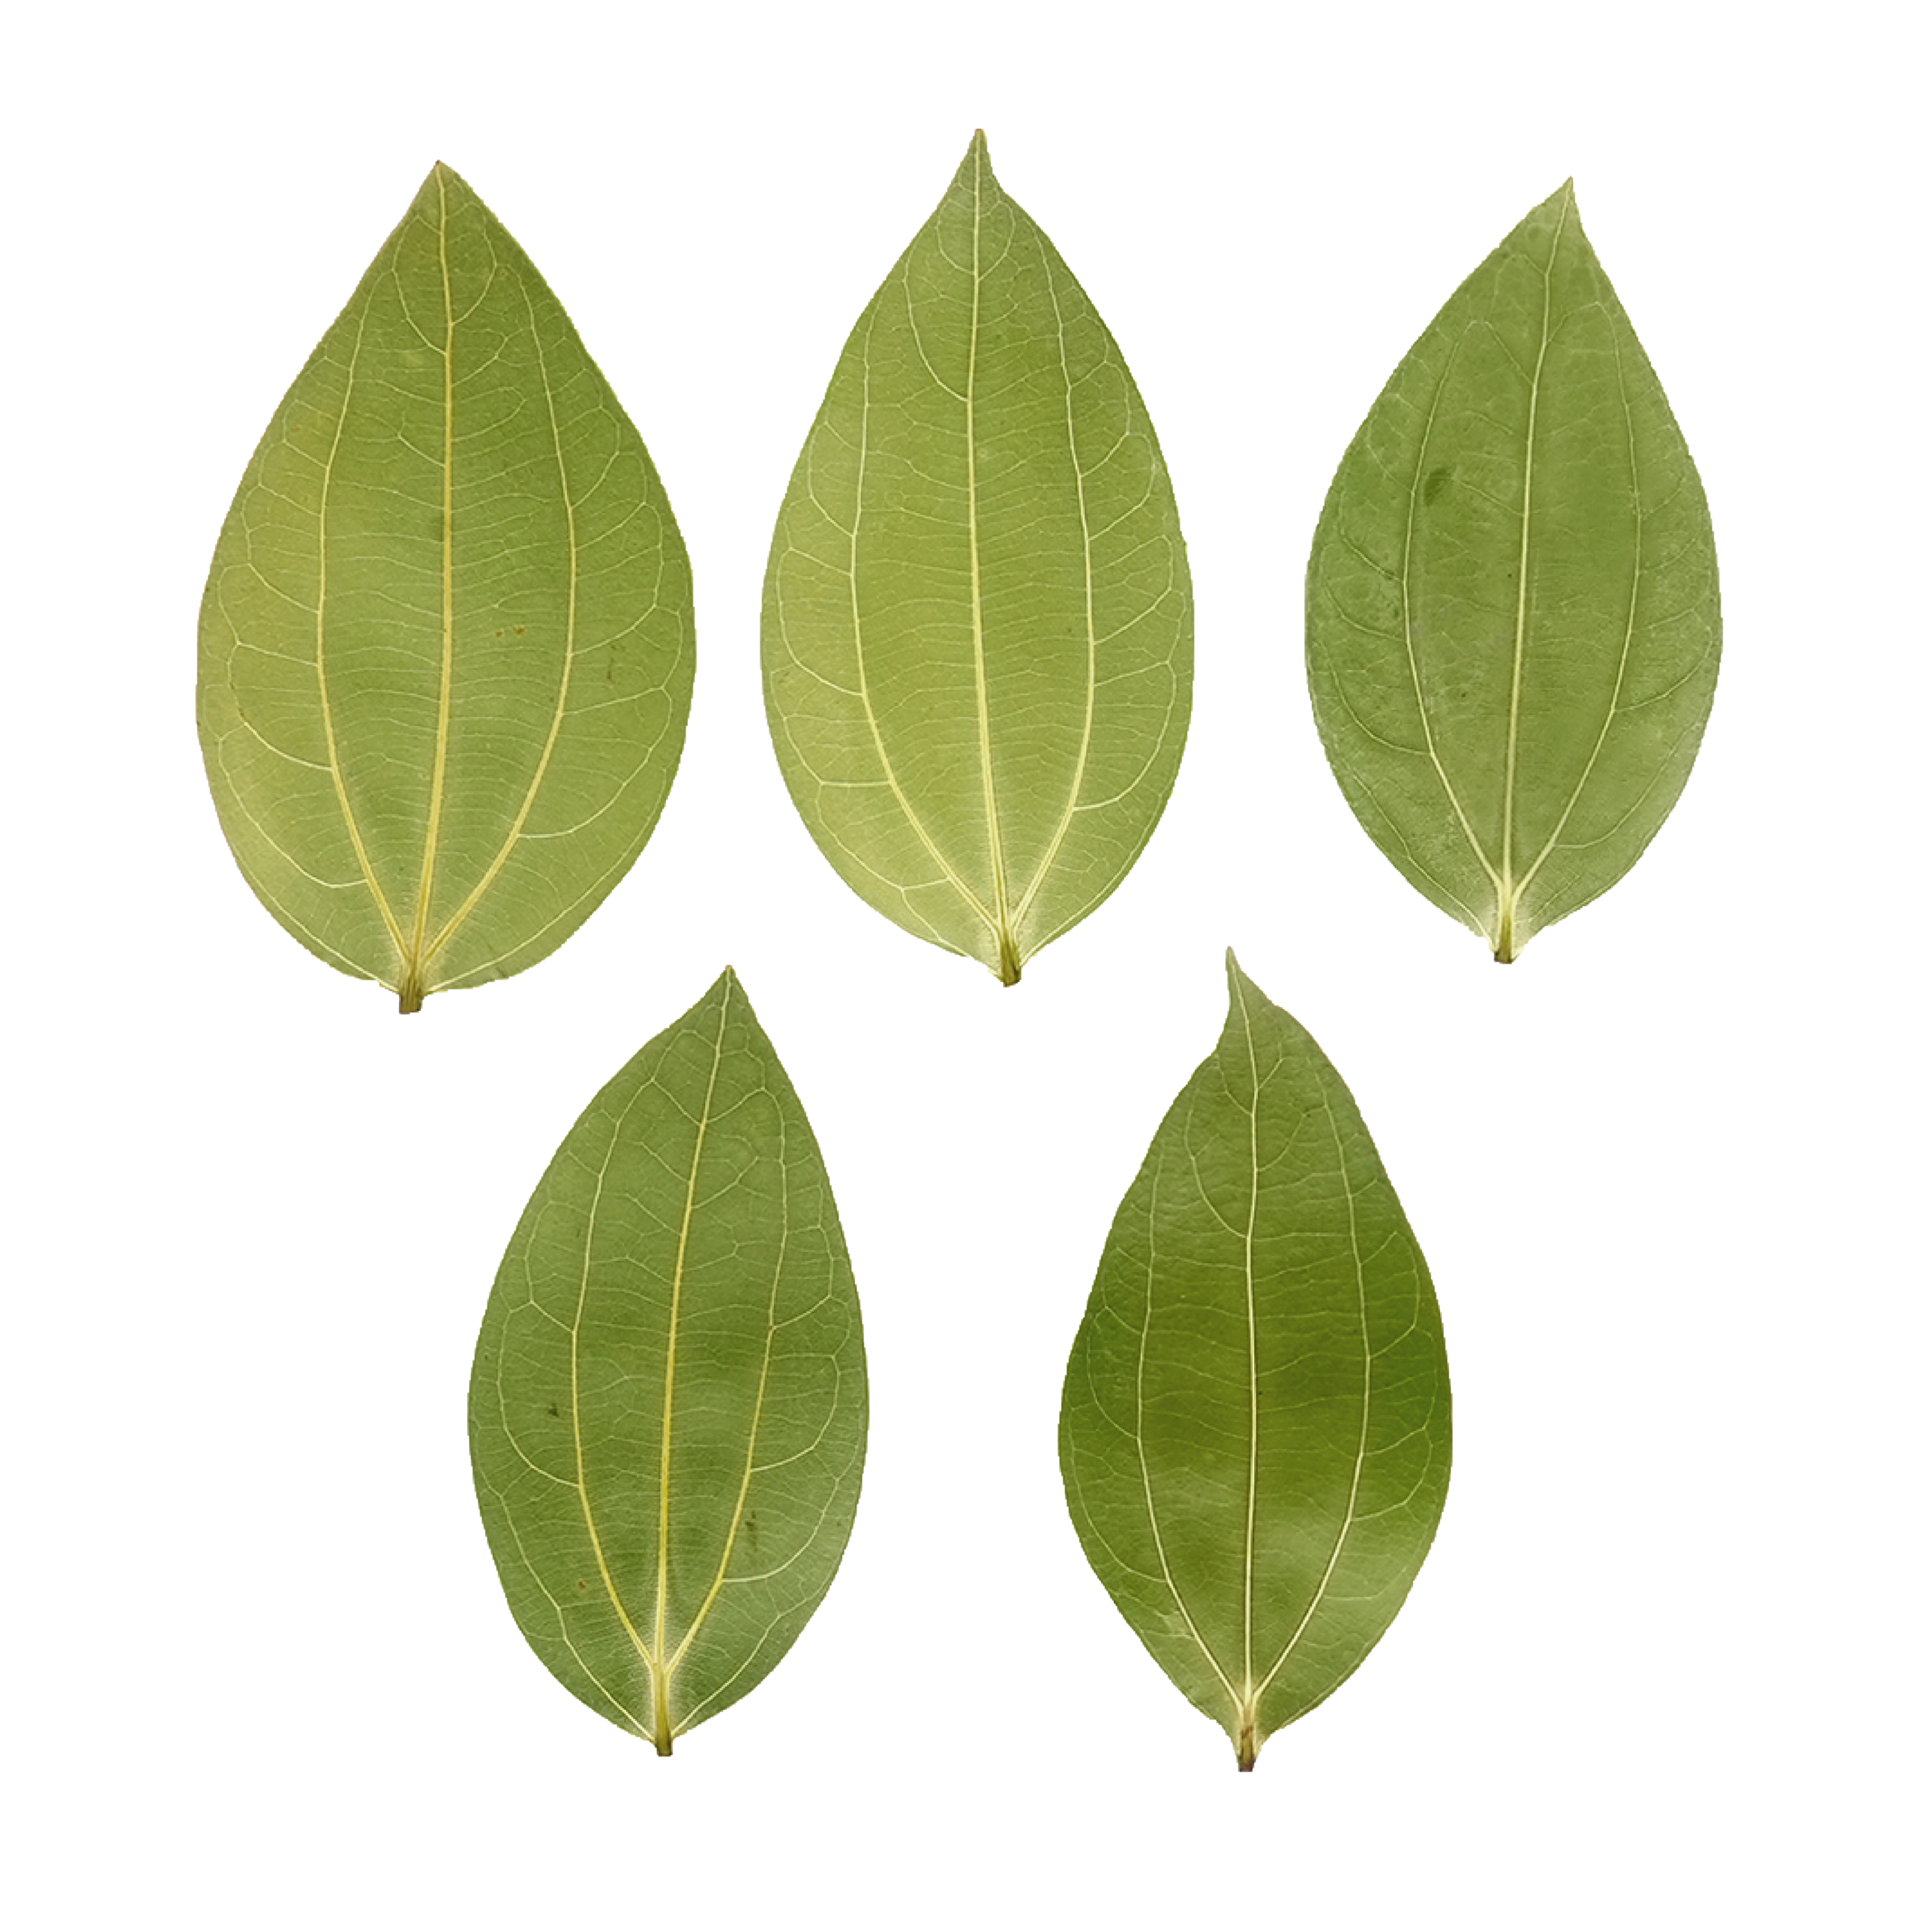
Part 2: Which leaves are best suited for leaf engraving?
Not all sheets of paper react equally well to laser engraving. To achieve optimal results, it is important to select the right sheet material in terms of structure, moisture content, and surface finish. Below, we present the most important criteria and recommend particularly suitable types of paper for engraving.
Ideal properties of leaves
For clean and detailed engraving results, sheets should have the following properties:
- Flat surface: A smooth, even surface helps the laser to maintain a constant focus and accurately reproduce fine details.
- Low moisture content: Dry leaves are less likely to burn, curl, or shrink during engraving.
- Stable structure: Slightly thicker, more robust sheets withstand the laser heat better and are less prone to tearing.
- Uniform coloring: Leaves with a uniform, rather light color (e.g. light green or light brown) offer better contrast for engraved motifs.
Recommended sheets
The following sheets are particularly suitable for laser engraving:
- Magnolia leaves: Thick and slightly waxy – they are very durable and can be easily engraved.
- Rubber tree leaves: Their smooth surface and stable structure make them ideal for fine engravings.
- Ficus leaves: Dried and pressed flat, they are very easy to engrave thanks to their thin but uniform texture.
- Maple leaves (dried): Broad and flat – they offer plenty of space for creative designs.
- Bay leaves: Naturally flat and slightly stiff, ideal for small, detailed patterns or lettering.
Pro tip:
If a sheet of paper is slightly curved or still damp, place it between two layers of kitchen paper and weigh it down with a heavy book for one to two days. This will dry and flatten the sheet, making laser engraving much easier.
🔨 Laser engraving on leaves – step-by-step instructions (5 steps)
Something you'll need:
- Engraving material: Fully dried leaves
- Engraving machine: Diode laser engraver (LP5 or LP4)
- Engraving design: text, images, patterns, etc.
Step 1: Select the appropriate sheet
Choose sheets of paper with a good, even color that are completely dry and suitable for laser engraving. The quality of the paper has a decisive influence on the engraving result. The sheet used in this tutorial has already been prepared and treated accordingly.
Step 2: Selecting the right laser machine for sheet engraving
In this step we choose the LaserPecker LP5 , a dual-laser and multifunctional laser engraver that is particularly suitable for laser engraving on leaves.
Step 3: Prepare the engraving design
① Turn on the machine and connect it via LDS. Import the photo to be engraved into the "Engrave Sheet" function in the LDS software.

2. Click on the image and select the "Center" function to place the photo in the middle of the sheet for engraving. Set the dithering engraving mode and activate the "Invert Colors" function.

2. Preview the engraving and adjust the machine's focus. Adjust the image size to the sheet size. The image width can be the same as or larger than the sheet width, but the length should not be too large so that there is still room to remove the sheet after engraving.


Step 4: Setting up the laser machine for laser engraving on sheets
Set the engraving parameters. The recommended values are: 1K resolution, 55–70% power, 30–40% depth. Select 450 nm blue light as the light source.

Step 5: Now start laser engraving on the sheet.
Place the engraving material on the cutting plate, check the engraving preview, and then start the engraving process. Below you can see the result of engraving the image on a sheet of paper.
- If the sheet is damaged after engraving, it is recommended to gradually reduce the power by 5% until the problem is resolved.
- If the leaf does not show a translucent effect under sunlight, gradually increase the power by 5% until the desired hollow effect becomes visible.
Conclusion
Laser engraving leaves is a wonderful fusion of nature and technology. With the right materials and machine settings, even a beginner can engrave a delicate and detailed photo onto a leaf. Whether you're experimenting with dried magnolia leaves or creating decorations from rubber tree leaves for an event, this guide provides the foundation to get started with confidence.
Ready to give it a try? Grab a sheet of paper, start your leaf engraving, and let your creativity flow.


