


Cardboard is a thick paper material or a durable paper-pulp product typically used for packaging, crafts, and many other applications.
In this guide, we'll dive deep into laser cutting cardboard—from start to finish! Additionally, we'll present a case study of a laser-cut cardboard mushroom sculpture. Let's embark on this exciting journey together!

In this Article:
Part 1: Overview of Laser Cutting Cardboard
1.1 What is Cardboard Laser Cutting?
Cardboard laser cutting is a precise process for cutting cardboard material into various designs, letters, or shapes. Laser-cut cardboard effortlessly transforms creative ideas into impressive art and craftworks.
1.2 How Does the Laser Cut Cardboard?
"Can you cut cardboard with a laser cutter?" Yes! Laser cutting cardboard involves focusing a high-energy laser beam onto the surface of the cardboard. The intense heat generated by the laser beam cuts the cardboard along the predetermined line, ensuring a clean and precise cut.
Since the laser beam is controlled by computer software, even intricate and complex designs can be cut with high accuracy. Compared to other cardboard cutting methods, this results in smooth edges—ideal for detailed patterns and shapes.

1.3 Which Cutter is Suitable for Cardboard?
To cut cardboard with a laser, you need a laser cutter—a crucial tool for simplifying the cutting process and achieving precise results. Given the variety of laser cutting machines on the market (such as diode lasers, CO₂ lasers, or fiber lasers), many ask: "Which laser is best for cutting cardboard?" or "Which machine do I need to cut cardboard?"
The answer truly depends on your engraving or cutting needs. For home or small-scale cardboard laser cutting projects, diode lasers like LP5, LP4, or LP2 are the best choice. These cardboard laser cutting machines are easy to use and cost-effective compared to other devices.

💡 Case Study: Creating a Laser-Cut Cardboard Mushroom Sculpture in 5 Steps
Checklist for Preparing to Laser Cut a Cardboard Mushroom Sculpture:
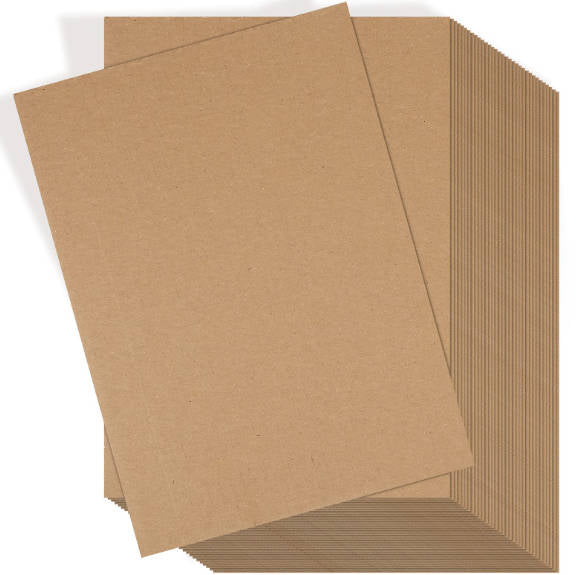
- Cutting Material: 1–3 mm cardboard sheet
- Cardboard Cutting Machine: Diode laser cutter
- Cutting Design: Patterns, letters, shapes, etc.
The process of laser cutting cardboard is straightforward. So, how do you laser cut cardboard—and how long does it take to cut cardboard? Don't worry, just follow these 5 simple steps and you'll have your laser-cut cardboard creations in just a few minutes!
Step 1: Choose Your Material – 1–3 mm Cardboard Sheet
Selecting the right material is crucial for laser cutting cardboard. Different materials require specific laser settings to achieve precise cutting results. Additionally, it's important to ensure that the cardboard material is laser-compatible to avoid potential safety risks.
In this guide, we'll use a case study for laser cutting a cardboard mushroom sculpture!
Step 2: Choose the Right Laser Cutting Machine for Cardboard
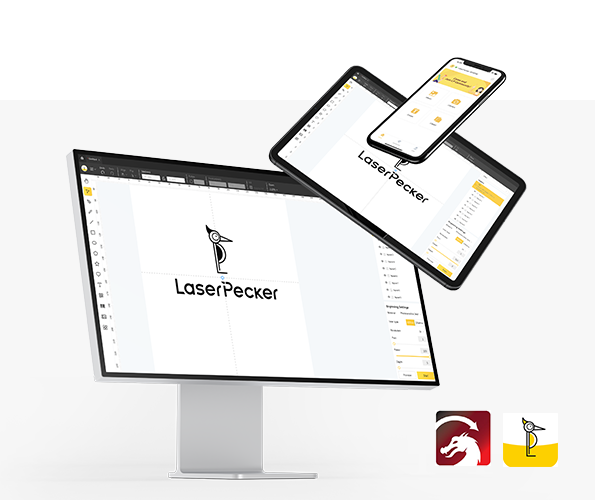
Here we recommend the LaserPecker 4 (LP4) which is particularly suitable for cardboard laser cutting projects.
*Besides the LP4, you can also choose the LP5, which offers excellent performance in cutting cardboard with a 20W 450nm diode laser and speeds of up to 10,000 mm/s.
Or you opt for the LaserPecker LX2. With powerful 20W/40W/60W diode lasers, it effortlessly cuts through larger materials—the ideal choice for realizing impressive, large-format cardboard projects.
Step 3: Prepare the Cutting Design
Use the LaserPecker graphic design app/software or external design tools like Photoshop to create or import the desired shape or design for the cardboard surface. Pay attention to size, shape, and other details.
Step 4: Set Up the Cardboard Laser Cutting Machine
① First, ensure your cutter is powered on, then connect your laser cutter to your computer or mobile device via the appropriate interface (Wi-Fi, USB cable, Bluetooth, etc.).
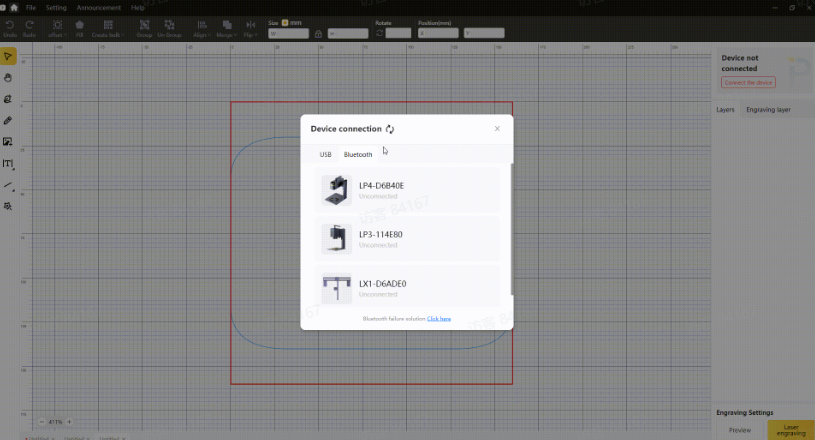
② Next, open LaserPecker Design Space and upload your design. (Formats like JPG/PNG/G-Code/SVG etc. are all accepted).
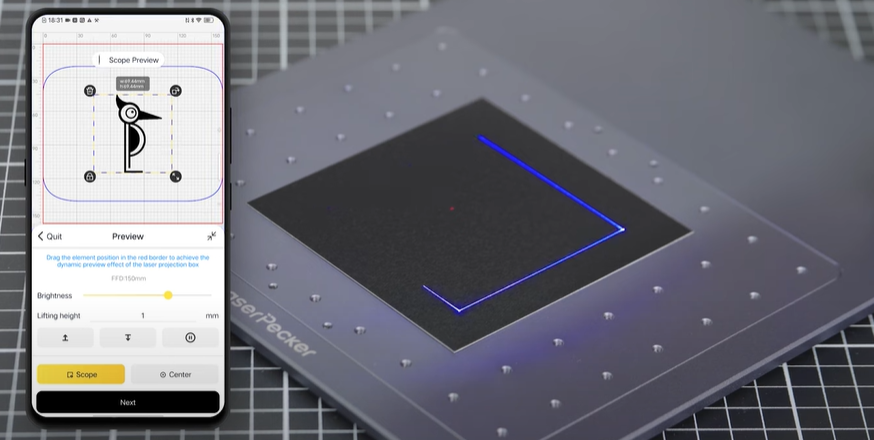
③ Place the items in the designated work area, activate preview mode, and ensure the laser is properly focused.
④ Check if your design fits correctly on the cardboard surface. If not, adjust the size and position to match the material's dimensions.
⑤ Access the laser settings in the software to adjust parameters such as power, depth, and resolution according to the cardboard's properties and the design's complexity.
To achieve the best results, the recommended LaserPecker 4 material settings for cutting cardboard are a 10W 450nm diode laser; Resolution: 1k; Power: 60%; Depth: 97%; Pass: 1
Further recommended engraving and cutting parameters for LaserPecker can be found in the Settings Table, which applies to all LaserPecker machines, including LP1, LP2, LP3, LP4, and LP5.
Step 5: Start Laser Cutting Cardboard Now
Carefully check all settings to avoid errors. Then press Start and watch your design come to life. Keep an eye on the process—and it's all done!
Wear safety glasses or use a laser safety cover to protect your eyes and body from potential harm, as the blue laser can pose risks.
Also, be aware that laser cutting can produce smoke or toxic gases. Wearing a mask or using an air purifier is therefore essential for your safety.

Conclusion
In summary, laser cutting cardboard offers both versatility and precision. It transforms cardboard into intricate designs and functional products with clean edges and detailed patterns. This opens up nearly limitless possibilities for artistic expression, industrial applications, and personal projects.


