











































Wooden signs are among the most popular DIY projects for homeowners, creative crafters, woodworkers, and small businesses. Whether it's a rustic welcome sign, a personalized gift, a company sign, or home decor – wooden signs have a timeless appeal and fit into almost any environment.
Thanks to modern tools and techniques, it's now easier than ever to make your own wooden signs. Whether you prefer traditional handcrafting or modern laser cutting technology: there's a suitable method for every skill level and budget.
In this guide, you'll learn how to design a wooden sign, which types of wood are suitable for different projects, and the differences between four popular manufacturing methods.

In this article:
- Part 1: The 5 Best Types of Wood for Wooden Signs
- Part 2: 4 Popular Methods for Making Wooden Signs
- Method 1: Hand-Painted Wooden Signs
- Method 2: Wooden Signs with Stencils and Paint
- Method 3: Wooden Signs with CNC Router or Plunge Router
- Method 4: Laser-Cut and Laser-Engraved Wooden Signs
- Part 3: Why Laser Engraving and Laser Cutting is the Best Method for Wooden Signs
- Part 4: Frequently Asked Questions about Making Wooden Signs
Part 1: The 5 Best Types of Wood for Wooden Signs
Choosing the right wood is one of the most important steps when you want to make your own wooden signs. Wood types differ in appearance, durability, engraving quality, and weather resistance. The right material can therefore significantly improve the final result.
Below are some of the best wood types for DIY wooden signs, as well as for laser engraving and laser cutting projects.
1. Plywood (Birch or Basswood Plywood)
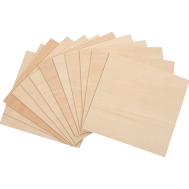
Plywood is one of the most popular materials for wooden signs because it is inexpensive, dimensionally stable, and easy to work with. Laser-compatible birch and basswood plywood allows for clean cuts and detailed engravings. It is ideal for decorative signs, wall art, and personalized gifts.
Best suited for: Indoor signs, painted projects, multi-layered signs, and laser-cut designs.
2. Basswood
Basswood is a soft hardwood with a smooth surface that is excellent for engraving. Its fine grain allows for sharp details and consistent results. This makes it particularly popular with crafters and laser engraving enthusiasts.
Best suited for: Detailed engravings, decorative signs, pendants, and craft projects.
3. Pine Wood
Pine is widely available, inexpensive, and known for its rustic look. Natural knots and grain give farmhouse-style signs a special character. However, due to the irregular grain, engraving results can vary.
Best suited for: Rustic signs, farmhouse-style decorations, and budget-friendly projects.
4. Cedar Wood
Cedar wood is naturally resistant to moisture, insects, and weathering. It also produces a strong contrast when engraved, making it ideal for outdoor signs.
Best suited for: Outdoor signs, garden signs, business signs, and permanent installations.
5. Maple Wood
Maple is a dense hardwood with a smooth surface and excellent engraving quality. It allows for sharp details and a high-quality finish, making it a popular choice for professional and particularly elegant wooden signs.
Best suited for: High-quality indoor signs, company logos, and detailed engraved motifs.
Part 2: 4 Popular Methods for Making Wooden Signs
Various methods are available for making wooden signs – from classic handcrafting to modern digital manufacturing techniques. The most suitable method depends on your budget, your prior knowledge, the desired look, and the planned quantity.
Let's start with one of the oldest and most creative methods.
Method 1: Hand-Painted Wooden Signs
Hand-painted wooden signs are a classic DIY project and offer maximum creative freedom. With brushes, markers, or paint pens, individual motifs are created that reflect your personal style and craftsmanship.
If you're just starting to design DIY wooden signs, hand-painting is an affordable and rewarding way to learn the basics. However, as designs become more detailed or quantities increase, many creatives switch to stencils, CNC routers, or laser processes to achieve more precise and consistent results.
Method 2: Wooden Signs with Stencils and Paint
Painting with stencils is one of the easiest methods to create professional-looking wooden signs without special drawing or painting skills. With pre-made or self-made stencils, you can achieve clean lettering, uniform designs, and reproducible results with little effort.
Method 3: Wooden Signs with CNC Router or Plunge Router
CNC routers and wood milling machines create signs by cutting or milling the motif directly into the wood surface. Unlike painted signs, this creates depth and three-dimensional structures. The result looks high-quality and professional and is suitable for both indoor and outdoor use.
Since the design is controlled by software, CNC milling delivers consistent results and can reproduce intricate lettering, logos, and decorative patterns with high accuracy.
Method 4: Laser-Cut and Laser-Engraved Wooden Signs
Laser cutting and laser engraving are considered particularly efficient and versatile methods for making wooden signs. Both processes are carried out with a laser machine but perform different tasks. They are often combined to produce professional signs with exceptional detail and precision.
Laser engraving removes a thin layer of the wood surface, creating text, graphics, patterns, logos, and detailed motifs. The process is ideal for sharp lettering, intricate designs, and photorealistic engravings.
Laser cutting completely cuts through the wood. This allows for individual shapes, decorative edges, three-dimensional lettering, multi-layered designs, and complex sign components that would be difficult to achieve with conventional tools.
| Method | Typical Result | Best Suited For | Speed and Reproducibility |
|---|---|---|---|
| Hand Painting | Individual, textured, and handcrafted surfaces with visible brushstrokes. | Single decorative signs or artistic unique pieces. | Slow; low reproducibility, as each piece is handmade. |
| Stencil and Paint | Clean, reproducible lettering with clear edges when paint is carefully applied. | Small series where uniform typography is important. | Medium speed; good reproducibility with durable stencils. |
| CNC/Plunge Router | Raised or recessed lettering with three-dimensional depth and mechanical precision. | Signs with relief carving or for robust, durable installations. | Medium speed; good reproducibility, but longer setup time. |
| Laser Cutting/Engraving | Extremely fine details, precise cuts, photorealistic engravings, and clean edges. | Detailed logos, small text, photorealistic images, and larger quantities. | Fast for repetitions; very high reproducibility once settings are optimized. |
Part 3: Why Laser Engraving and Laser Cutting is the Best Method for Wooden Signs
Wooden signs can be hand-painted, designed with stencils, or milled with a CNC router, among other methods. Each method has its advantages. However, laser engraving and laser cutting offer the best combination of precision, speed, consistent quality, and creative freedom.
Whether for individual home decor, a company sign, a personalized gift, or a product for sale: professional results can be achieved with laser technology in less time and with less effort.
Reason 1: Exceptional Precision and Detail
Laser engraving can reproduce fine text, intricate logos, decorative patterns, and detailed motifs with remarkable accuracy. This precision is difficult to achieve consistently with classic painting or milling methods.
Reason 2: Clean Cuts and Professional Surfaces
Laser cutting creates smooth, precise edges that often require little to no post-processing. This allows creatives to produce individual shapes, multi-layered signs, decorative frames, and intricate cutouts that would be difficult to achieve with conventional tools.
Reason 3: Faster Production and Higher Efficiency
Hand-painted signs require a lot of manual labor. Laser systems, on the other hand, can execute even complex designs quickly and consistently. Once the design file is prepared, the same project can be reproduced an arbitrary number of times with minimal setup effort.
Reason 4: Consistent Results with Every Pass
A key advantage of laser technology is its repeatability. Once the correct settings are established, you can produce the same sign multiple times with virtually identical results. This consistency is difficult to achieve with artisanal methods.
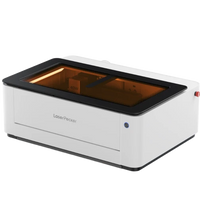
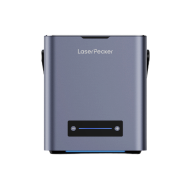
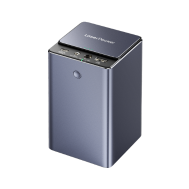
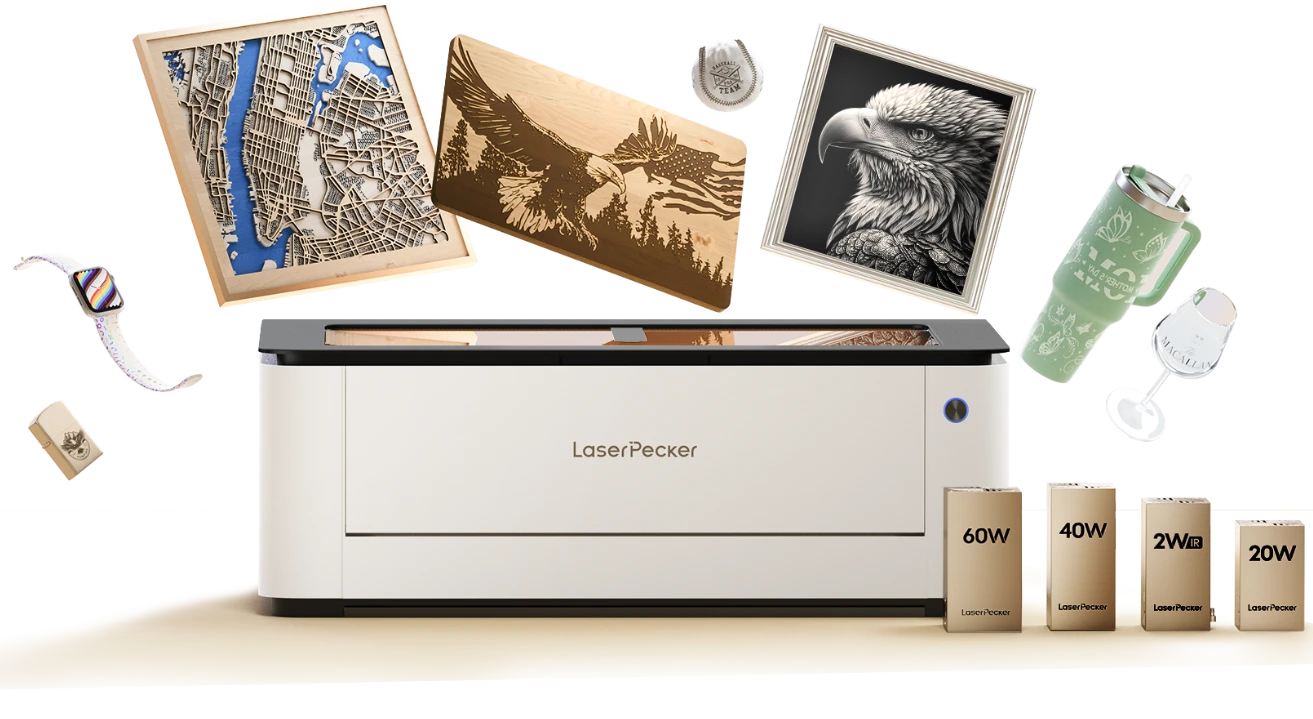
Recommended Laser Cutter for Wooden Signs: LaserPecker LX2
The LaserPecker LX2 is a powerful desktop laser cutter for wooden signs, home decor, business signs, personalized gifts, and woodworking.
-
High-power diode laser with up to 60 W
The LX2 supports laser modules with 20 W, 40 W, and 60 W, providing high cutting performance for plywood, hardwood veneers, MDF, and other materials commonly used for wooden signs. -
Large working area of 500 × 305 mm
The generous working area allows for processing larger signs or multiple sign components in one pass, increasing productivity. -
12 MP camera with Point-to-Shape™ positioning
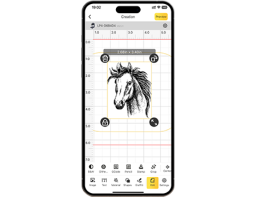
The integrated camera system helps to precisely align materials and preview designs before cutting or engraving. This reduces material waste and makes workflows more efficient. -
Precise cutting and engraving for sign making
The LX2 produces detailed lettering, logos, decorative edges, and intricate motifs with clean cuts and sharp engraving results.
Part 4: Frequently Asked Questions about Making Wooden Signs
Q1. How do you transfer a design onto wood?
Designs can be transferred onto wood in various ways, such as with stencils, carbon paper, vinyl decals, or by laser engraving. Laser engraving offers the highest precision, as the design is transferred directly from a digital file to the wood. This creates clean lettering, detailed graphics, and consistent results.
Q2. Can beginners make wooden signs at home?
Yes. Many methods are suitable for beginners, including hand painting, working with stencils, and laser engraving. Modern laser cutters and laser engravers automate a large part of the cutting and engraving work. This makes it easier for beginners to create professional-looking signs.
Q3. Is laser cutting safe for making wooden signs?
Yes, provided the laser is operated according to the manufacturer's instructions and with adequate ventilation. Modern enclosed laser systems have several safety features and enable efficient cutting and engraving of wood while maintaining a safe working environment.
Q4. Are laser engraving and laser cutting the best method for wooden signs?
For most hobbyists, creatives, and small businesses, laser engraving and laser cutting offer the best combination of precision, speed, repeatability, and design freedom. Detailed designs, clean lettering, individual shapes, and multi-layered signs can be produced with significantly less manual work than with traditional methods.
Conclusion
Whether you want to create a unique gift or build a business with custom-designed signs: Laser technology makes it easier to implement high-quality projects in a professional and reproducible manner. With the right material, the right settings, and a reliable laser cutter, you can transform simple wood into individual signs that leave an impression.
Now you know how to make a wooden sign yourself. Realize your ideas and design individual wooden signs for your home, your customers, or your next creative project.