














































Wooden lanterns combine artisanal charm with warm, atmospheric light, making them ideal as home decorations, for the garden, patio, or special events. Today, they are typically crafted in two ways: using classic woodworking methods or modern laser cutting.
In this guide, you will learn how to build a wooden lantern. We will compare traditional handcrafting with precise laser cutting and show you step-by-step how to create a decorative and functional lantern at home or in your workshop.

In this article:
- Part 1: What is a wooden lantern and what is it used for?
- Part 2: Traditional vs. Laser-Cut Wooden Lanterns
- Part 3: Building a Wooden Lantern with a Laser Cutter
- Part 4: Design Tips for a Beautiful and Safe Wooden Lantern
- Part 5: Common Mistakes When Building a Wooden Lantern
- Part 6: Frequently Asked Questions About Building a Wooden Lantern
Part 1: What is a wooden lantern and what is it used for?
A wooden lantern is essentially a decorative wooden casing that safely encloses a light source. It not only provides light but also creates a cozy atmosphere, serves as a table decoration, or enhances gardens and patios. The design can be simple and rustic or feature intricate, precisely cut patterns.

If you want to build a wooden lantern yourself, you have two main options today.
The traditional method involves measuring, cutting, and assembling individual parts with hand tools. This approach provides a particularly authentic crafting experience and offers great design freedom. However, it is time-consuming and requires practice to ensure all components fit together precisely.
The second option is to work with a laser cutter. This allows wood to be cut significantly faster and more precisely. Even delicate patterns and multiple identical lanterns can be produced reliably.
Both methods have their own advantages. Which one is more suitable depends on your crafting skills, available tools, and desired outcome.
Part 2: Traditional vs. Laser-Cut Wooden Lanterns
Whether you make your lantern by hand or with a laser cutter should be decided based on your design, available equipment, and required precision. The following differences will help you choose.
Difference ①: Precision and Level of Detail
In traditional construction, all parts must be carefully measured and cut by hand. Experienced craftsmen can achieve very good results, but complex patterns are difficult to reproduce exactly multiple times. With laser cutting, high and consistent precision is significantly easier to achieve.
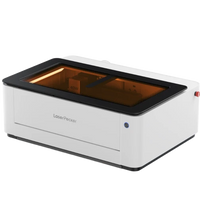
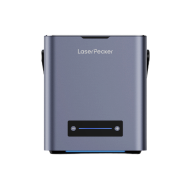
A laser cutter like the LaserPecker LX2 enables detailed patterns with high accuracy. The fast laser produces fine, clean cuts in wood without tearing the edges. This allows even intricate ornaments to be implemented effortlessly.
Difference ②: Uniformity and Scalability
Handmade lanterns usually differ slightly from each other. For a single piece, this can contribute to its artisanal character. However, for events, workshops, or selling larger quantities, it is often important that all lanterns look the same. With laser cutting, a design created once is reproduced identically by the LX2 with each pass. This is particularly advantageous for businesses and series production.
Difference ③: Time and Unit Costs
Manual production is labor-intensive. Cutting, sanding, and assembly can take several hours. If a mistake is made, a part often has to be remade, which costs additional time and material.
Laser cutting saves considerable time. The LX2 can cut even a complex component within minutes, and the edges often require little or no post-processing. Additionally, it is powerful enough to cut wood up to 22 mm thick in one pass. This allows for stable side panels and stronger frames to be made without changing tools or planning multiple cutting passes. The initial purchase of a laser cutter is more expensive, but it can pay off with regular use due to saved labor time and reduced material waste.
Difference ④: Tools and Training
Traditional manufacturing requires saws, sandpaper, and other woodworking tools. Safe and precise handling of these tools must be practiced. Mistakes during sawing can quickly lead to material loss.
Laser cutting requires different skills, particularly in using design software. The LX2 works with easy-to-understand, beginner-friendly software, so even novices can prepare lantern templates without much difficulty.
In the official LaserPecker community CraftZone, free cutting files for wooden lanterns are also available for download. This allows users to start directly with ready-made templates without having to create complex designs themselves. Many attractively designed lantern templates can also be found at affordable prices on Etsy. This simplifies the selection of a suitable style and enables a quick start. Additionally, the positioning system supports correct material alignment.
Difference ⑤: Suitable Applications and Target Groups
Handmade lanterns are particularly suitable for people who appreciate traditional woodworking and want to carry out the entire manufacturing process themselves. Laser-cut lanterns, on the other hand, are ideal when detailed patterns need to be produced quickly, precisely, and repeatedly. This benefits small businesses, event planners, teachers in creative workshops, and anyone who wants to produce several cleanly finished and professional-looking lanterns.
Another major advantage of a laser cutter like the LX2 is that lantern elements can be constructed with interlocking joints using tenons and slots. This allows the parts to fit together precisely without relying entirely on glue, nails, or screws. The finished lantern can be assembled faster, looks cleaner, and remains stably joined – ideal for private projects and commercial manufacturing.
| Feature | Traditional Handcrafting | Laser Cutting (LX2) |
|---|---|---|
| Precision & Level of Detail | Medium, depending on craftsmanship | High and consistent; suitable for delicate patterns |
| Uniformity & Scalability | Low; components may vary | High; designs are reproduced exactly |
| Time & Unit Costs | High; labor-intensive | Low unit cost after setup |
| Tools & Training | Multiple tools and practical practice required | Software-driven process and easy hardware setup |
| Suitable Applications | Hobby projects and small quantities | Businesses, series production, and detailed designs |
| Design Flexibility | Limited by manual skill | Very high; digital designs are easily customizable |
Which method suits you better?
Classic woodworking is charming and fulfilling, but it requires a lot of time. Exact repetitions are difficult, and errors can lead to unnecessary material waste. If you want to combine an appealing look with efficient production, laser cutting is usually the better choice.
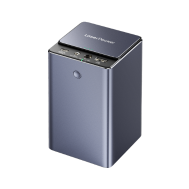
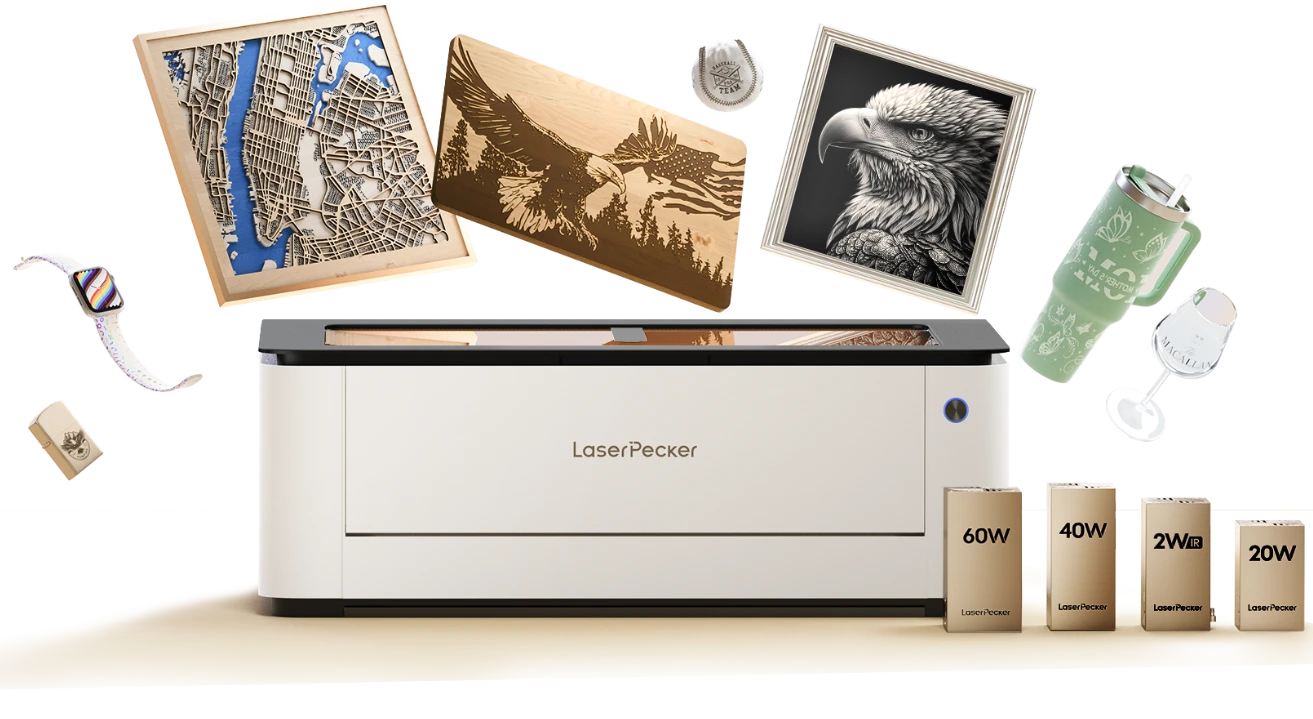
The LX2 is very well suited for laser-cut wooden lanterns. It achieves a cutting speed of up to 1,000 mm/s. Thanks to the quickly interchangeable laser modules, you can switch between 20W, 40W, and 60W diode lasers, as well as a 2W IR laser. The large work area and double-door design offer enough space for common lantern panels.
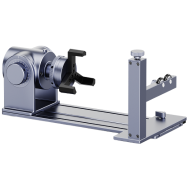
Furthermore, the LaserPecker LX2 supports 3D and rotary work, allowing for curved or cylindrical elements to be created for special lanterns. The precise alignment with the 12MP camera ensures that interlocking parts and delicate window patterns are positioned correctly. Compared to manual work, the LX2 offers more speed, accuracy, and creative possibilities.
Part 3: Building a Wooden Lantern with a Laser Cutter
If you want to build a wooden lantern with a laser cutter, you should first prepare the material and carefully plan the design.
What you need:
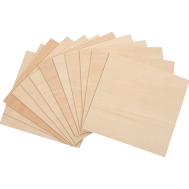
- Wood panels or boards; thin plywood or MDF with about 3–6 mm thickness is well suited for lightweight lanterns
- LED candles or small lights
- Sandpaper, if you want to smooth the edges or further refine the lantern
- A design file in SVG, DXF, or AI format for the LX2
Step-by-Step Guide: Making a Wooden Lantern with the LX2
Step 1: Prepare Design
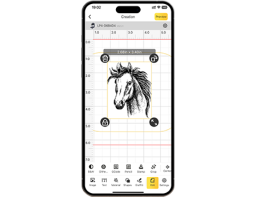
Create the lantern components – side panels, windows, and decorative cutouts – in vector graphics software. Ensure that all slots and tenons are correctly dimensioned for easy assembly later. With the LX2, designs can be imported directly into LightBurn or LaserPecker Design Space.
Step 2: Load Wood into the LX2
Place the wooden panel on the work surface and align it to match the double-door access. Secure the material so it remains flat and stationary during cutting.
Step 3: Select Laser and Settings
Select the appropriate diode or IR laser module according to the wood type and material thickness. Adjust speed, power, and number of passes to ensure clean cuts and avoid excessive burn marks.
Step 4: Align Design
Use the 12MP camera and the LX2's point-to-shape positioning to place the design precisely on the wood. This is especially important for lanterns with precisely fitting interlocking joints.
Step 5: Cut Lantern Parts
Start the cutting process. The LX2 works quickly, so even complex designs can be completed within minutes. Monitor the process and pause it if necessary.
Step 6: Assemble Lantern
If necessary, lightly smooth the cut edges with sandpaper. Then assemble the components using the slots, tenons, or a little glue. Check that all parts fit securely and the finished construction is stable.
Step 7: Insert Light Source
Insert an LED candle or a battery-powered light. Real flames should be avoided unless sufficiently thick, heat-resistant materials and appropriate safety measures are used.
Part 4: Design Tips for a Beautiful and Safe Wooden Lantern
1. Balance light transmission and stability: Plan enough openings without weakening the supporting structure too much.
2. Test interlocking joints: Before cutting the entire lantern, cut some test pieces to check if tenons and slots fit together cleanly.
3. Create more depth with multiple layers: Use overlapping plates or decorative overlays to make the design appear more three-dimensional.
4. Consider air circulation: If using real candles, openings must be present for heat to escape.
5. Carefully finish edges: Light sanding or appropriate surface treatment improves appearance and protects against splinters.
Part 5: Common Mistakes When Building a Wooden Lantern
Mistake 1: Plates cut too thin can bend during assembly.
Mistake 2: Inaccurate alignment in the software or on the work surface leads to parts not fitting together correctly.
Mistake 3: Too high laser power can leave severe burn marks.
Mistake 4: For electric lights or candles, applicable safety rules must always be observed.
Mistake 5: Test your design on a scrap piece first before cutting the final material.
Part 6: Frequently Asked Questions About Building a Wooden Lantern
1. Is laser engraving better than wood burning?
When clean and detailed designs are required, laser engraving generally offers advantages over traditional pyrography. A laser can repeatedly reproduce identical patterns and motifs. A device like the LaserPecker LX2 ensures a consistent processing depth, clean edges, and high working speed. This is particularly practical when producing several identical lanterns. While pyrography creates an individual, handcrafted look, laser engraving is usually superior in terms of precision, speed, and repeatability.
2. What materials should never be cut with a laser cutter?
Do not use materials that release toxic fumes or are particularly flammable. PVC, vinyl, and pressure-treated wood should not be laser cut. Very thick or resinous woods can also char significantly if the settings are not chosen correctly. With the LX2, power and speed can be adjusted via the software. Suitable types of wood include basswood, plywood, and bamboo. Before each project, check whether the material used can be safely laser-processed.
3. Can I build a wooden lantern at home with a laser cutter?
Yes, with a desktop laser cutter like the LaserPecker LX2, you can easily make a wooden lantern in your own workshop.
Thanks to its compact design, two doors, and the ability to process larger workpieces, no industrial workshop is required. With sufficient ventilation and under constant supervision, the components can be designed, cut, and then assembled. The LX2 can also engrave at different angles, so curved or unusually shaped lantern elements can also be processed at home.
4. What wood thickness is suitable for a laser-cut wooden lantern?
For wooden lanterns, sheets with a thickness of 2 to 6 mm are generally suitable. They offer good stability and can still be easily cut.
For thicker sheets, the cutting speed may need to be reduced or the material processed in several passes. Wood that is too thin, on the other hand, can warp or break. With the LX2, the laser power can be adjusted to different material thicknesses, so that clean cuts with as few burn marks as possible are created. This is particularly helpful when a lantern design combines thin decorative elements with thicker structural parts.
5. Are laser-cut wooden lanterns suitable for candles?
Laser-cut wooden lanterns can be used with candles, provided careful safety measures are taken. The wood should be suitably treated, and an open flame must be supervised at all times. Keep the flame away from thin or delicate wooden parts. LED candles are generally the safer choice. Precise laser cutting technology, as with the LaserPecker LX2, ensures uniformly manufactured wooden elements and defined clearances. Correct assembly and sufficient ventilation openings also contribute to safety, without compromising the handcrafted character of the lantern.