Yeti Cups are not only durable and stylish—they're also extremely popular. But what makes them truly unique is a personalized engraving. Whether it's a name, logo, or custom design—a Yeti mug engraving transforms an ordinary thermal mug into a personalized gift or a stylish branded product.
In this guide, we'll introduce you to four tried-and-true methods for engraving Yeti tumblers—from precise laser engraving to creative DIY techniques. So you can find the right method for your tools, skill level, and style.

In this article:
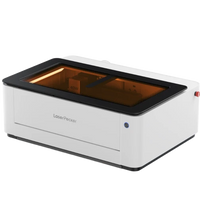
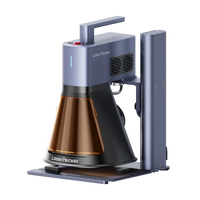
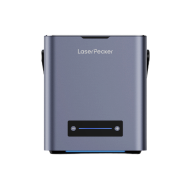
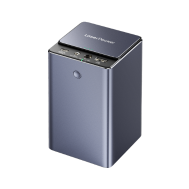
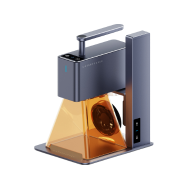
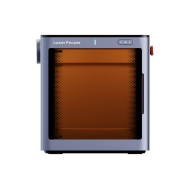
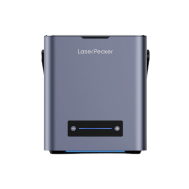
Method 1: Engrave Yeti cups with a laser engraving machine
Laser engraving on Yeti cups is the most precise and professional way to customize your cup. This involves either removing the powder coating or engraving directly into the stainless steel surface. This technique is perfect for logos, names, or intricate designs—especially if you want Yeti cups to last and look high-quality.
What you need for engraving:
- Fiber laser engraving machine
- Yeti cup (preferably powder coated for better contrast)
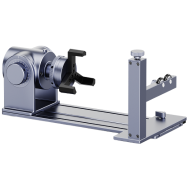
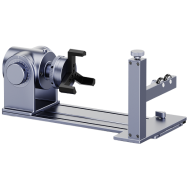
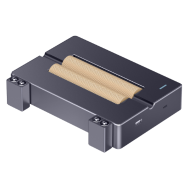
- Rotation attachment (so that the mug is rotated evenly during engraving)
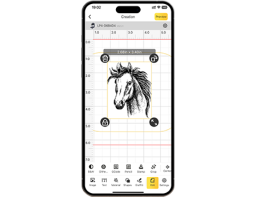
- Design software (e.g. LightBurn or the LaserPecker Software & App )
Steps to engrave a Yeti mug with a fiber laser:
Step 1: Create a design
Create your desired design—text, logo, or graphic—using the design software. Make sure to adjust the dimensions to fit the curved surface of the mug.
Step 2: Prepare the cup
Thoroughly clean the surface with alcohol to remove any dust or oil. Securely mount the cup on the rotation module.
Step 3: Set laser parameters
Choose the appropriate settings for power, speed, and focus—depending on your device and the type of cup. Activate rotation mode in the software.
Step 4: Check preview and alignment
Use the frame or preview mode to make sure your subject is exactly in the intended area.
Step 5: Start engraving
Start the engraving process and monitor it carefully. Pause if necessary to make adjustments.
Step 6: Cleaning after engraving
Remove any residue with a soft cloth. Optionally, you can polish or finish the cup.
Advantages and disadvantages of Yeti mug engraving with a fiber laser
Advantages:
Extremely precise and durable
Ideal for powder coatings or bare stainless steel
Perfect for logos, fine patterns and series production
Disadvantages:
Expensive, specialized equipment required
Method 2: Yeti mug engraving with an engraving pen or a rotating tool
If you want to engrave your Yeti cup but don't have a laser or CNC machine available, you can use a simple rotary tool or an electric engraving pen. This DIY method is ideal for anyone who wants to engrave Yeti cups—be it with a name, a simple pattern, or a small drawing. No software or complex technology is required.
Tools required:
- Rotary tool (e.g. Dremel) or electric engraving pen
- Yeti cup (preferably made of stainless steel or powder-coated)
- Screw clamp, workbench or non-slip mat
- Polishing cloth or fine sandpaper
Steps to engrave a Yeti mug with a rotary tool:
Step 1: Plan the design
Draw your design directly onto the mug with a water-soluble marker or use a stencil for orientation.
Step 2: Fix the cup
Stabilize the mug in a holder or on a non-slip surface to prevent it from slipping during the engraving process.
Step 3: Select the appropriate cutter
Use a fine engraving bit designed for metal, such as a diamond or carbide tip.
Step 4: Start engraving
Hold the tool like a pen and slowly move it along your design with even pressure. Don't apply excessive pressure—the tool should glide smoothly over the surface.
Step 5: Cleaning and finishing
Remove metal shavings and residue with a soft cloth. Optionally, polish the area to a shine with a polishing cloth.
Advantages and disadvantages of this method
Advantages:
Affordable and easily accessible
No software or machine configuration required
Ideal for simple Yeti cup engravings and creative DIY projects
Disadvantages:
Requires a steady hand and some practice
Less precise than laser or CNC engraving
Complex designs
Method 3: Engrave Yeti Cups with a CNC Rotary Machine
Engraving Yeti tumblers with a CNC machine and rotary axis is a precise and automated method for finishing cylindrical objects. The rotary axis's rotational motion ensures even engraving—ideal for professional series production or repeatable branding applications.
Tools required:
- CNC milling machine or desktop CNC with rotary axis
- CAD/CAM software
- Engraving cutters (e.g. V-cutters or carbide cutters for metal)
- Yeti cup (stainless steel, powder-coated)
Steps to engrave a Yeti cup with CNC rotary axis:
Step 1: Create a design
Design your text or logo in CAD software and convert the file into a toolpath using Rotary-enabled CAM software.
Step 2: Clamp the Yeti cup
Clamp the cup horizontally into the rotation axis. Make sure it is centered and firmly clamped.
Step 3: Insert engraving tool
Insert the appropriate engraving cutter and move to the zero point on the surface of the cup. Adjust the X, Y, and A axes correctly.
Step 4: Set material parameters
Select appropriate values for feed rate, cutting speed, and engraving depth—for stainless steel, for example, use a reduced speed.
Step 5: Start engraving
Start the engraving process. The CNC machine automatically rotates and engraves the Yeti mug according to the programmed data.
Step 6: Cleaning and finishing
After engraving, thoroughly clean the mug and remove any chips or residue. Optionally, the engraving can be polished or sealed with a protective coating.
Advantages and disadvantages of engraving Yeti cups with a CNC machine
Advantages:
Very precise and consistent results
Ideal for serial engravings or brand logos
Disadvantages:
High acquisition costs for machine and rotation module
Requires experience with CAD/CAM software
Complex setup and alignment
Yeti cup engraving with Citristrip and Cricut
This DIY method combines Citristrip paint stripper with a Cricut cutting machine to create a "fake engraving" effect on powder-coated Yeti cups. This method selectively removes the powder coating, revealing the metal beneath the desired shape—all without the need for a laser or CNC machine. Perfect for creative crafters who want to engrave their Yeti cups without investing in expensive equipment.
Tools required:
- Cricut Maker
- Adhesive vinyl
- Transfer film
- Citristrip Gel (color remover)
- Yeti cup (must be powder-coated)
Steps to “engrave” a Yeti cup with Citristrip + Cricut:
Step 1: Prepare the design
Create your desired design in Cricut Design Space and cut it out on adhesive vinyl with the Cricut.
Step 2: Transfer the stencil to the cup
Remove any excess vinyl (weeding) and use transfer film to adhere the stencil to the mug. Make sure the edges adhere well to prevent bleeds.
Step 3: Cover the remaining area
Protect any areas of the cup that should not be affected with painter's tape.
Step 4: Apply Citristrip
Put on gloves and apply a thin layer of Citristrip to the exposed area using a brush or cotton swab.
Step 5: Leave to work and remove the coating
Let the gel work for about 30–60 minutes. Afterward, you can carefully scrape or wipe off the softened coating—revealing the bare metal underneath.
Step 6: Clean and finish
Remove the stencil, clean the cup thoroughly with water or alcohol, and polish the surface as desired.
Advantages and disadvantages of this method for Yeti mug engraving
Advantages:
Affordable and easily accessible method
No special equipment required
Individual designs possible with Cricut
Disadvantages:
Only works on powder-coated surfaces
This is not a real engraving, but surface removal
Conclusion:
Yeti mug engraving doesn't have to be complicated! Whether you choose a professional laser or CNC solution or prefer to do it yourself—like with a Dremel or Cricut—there's a suitable method for every budget and every need.
Whether as a personal gift or for your small business: With these four tried-and-tested methods, you're guaranteed to successfully engrave your Yeti mug ideas on your stainless steel cup!


