Laser engraving offers a precise and elegant way to personalize Bibles and transform them into treasured keepsakes. This guide will walk you through the process of creating an engraved Bible—from choosing the right materials to using the laser engraving machine. Whether you want to add meaningful messages, names, or artistic designs, a personalized Bible with a name engraving or a custom design is a perfect solution for making your Bible unique.

In this article:
Part 1: Common Bible Engraving Techniques
Engraving techniques have been used for centuries to create intricate and decorative designs on various materials such as metal, leather, wood, and paper. When it comes to engraving Bibles, the choice of technique often depends on the material of the Bible cover or pages. Here are some common engraving techniques:
Metal Bible engraving:
- Hand engraving: This traditional technique involves using a sharp tool or engraver to manually cut lines into the metal surface. Skilled artisans can create detailed and precise designs.
- Machine engraving: Modern technologies have introduced machine-based methods, such as laser engraving, which uses laser beams to etch designs onto the metal. This method allows for high precision and speed and is often used in the production of Bibles with name engravings.
Leather Bible embossing:
- Hot stamping: This technique involves pressing a heated metal die onto the leather surface, leaving an impression. The stamp plate can contain the desired text or design, and the heat creates a permanent mark. This technique is often used for personalized leather Bible covers.
- Debossing: This involves pressing a stamp into the leather to create a debossed or indented design. It is often used for a more subtle and elegant look. Leather Bible engraving is a common method for personalizing a Bible.
Bible paper or parchment printing:
- Printing press: Traditional printing methods involve the use of a printing press, in which metal plates are inked with raised letters or images and pressed onto paper or parchment. This technique is widely used for mass production.
- Embossing: This technique creates a raised design on the paper or parchment. It can add a tactile and decorative element to the printed material and is a beautiful way to make a personalized Bible even more unique.
Wooden Bible engraving:
- Woodcut: In woodcut, the design is carved into a block of wood, and the raised areas are inked to create the print. This technique was historically used for illustrations and decorative elements.
When choosing an engraving technique for your personalized Bible, consider factors such as material, budget, and desired level of detail. Many modern personalized Bibles feature leather covers with hot stamping or embossing, while the pages are printed using traditional or digital methods. The choice of technique often reflects a balance between tradition, aesthetics, and available technology. Whether for a personalized Bible or a gift Bible, each method offers unique opportunities to personalize your Bible.
Part 2: Where can the Bible be personalized?
The personalization of a Bible can be engraved in various places, including:
- Cover: A Bible with an engraved cover, whether made of leather or metal, can bear names, dates, or messages. Personalized leather Bible covers are a particularly elegant choice for engraving.
- Spine: Names or decorative elements can be engraved to personalize the Bible.
- Metal clasps/corners: Small details or initials can be added to add a personalized touch.
- Presentation side: Often used for names, dates, and personal messages. Ideal for an engraved gift Bible for special occasions.
- Page margins: Premium Bibles often have engraved or gilded margins, which give the Bible with name engraving a sophisticated look.
- Inside the cover: Messages, quotes, or dedications can be added here to make a personalized Bible even more meaningful.
- Metal Plates/Inlays: Specially designed for personalization to add a unique touch to your engraved Bible.
- Bookmarks / Ribbons: Names or messages can be engraved on bookmarks or ribbons that are finished using the Bible engraving method.
- Gold-plated lettering: For premium Bibles that offer gold-plated engraved sections to highlight a special engraving on the Bible.
Part 3: How to Laser Engrave a Bible
Laser engraving is a precise and efficient way to personalize a Bible. Here are general instructions for engraving a Bible:
Materials required:
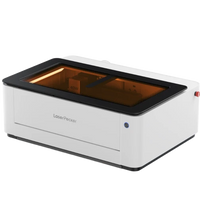
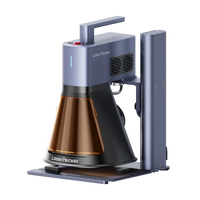
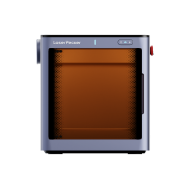
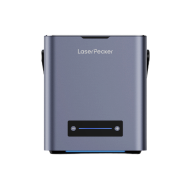
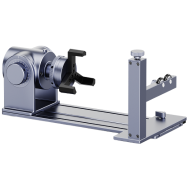
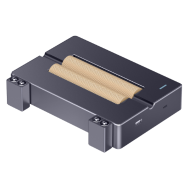
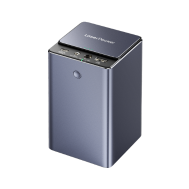
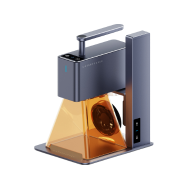
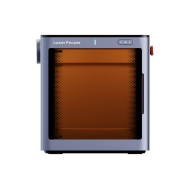
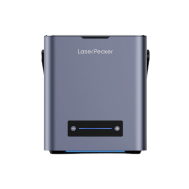
- Laser engraving machine : Make sure you have access to a laser engraving machine. These machines come in different sizes and power levels; choose one that suits your project.
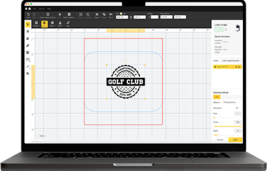
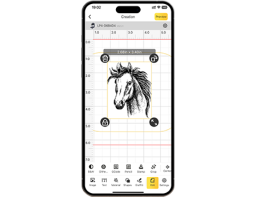
- Design software : Create or import the design you want to engrave on your personalized Bible. Make sure the design fits the dimensions of the Bible with name engraving cover.
- Bible: Choose an engraved Bible with a cover material suitable for laser engraving. Leather, synthetic leather, and certain coated materials are commonly used.
- Safety equipment: Wear appropriate safety equipment such as safety goggles and, if necessary, a ventilation system to remove fumes.
Steps:
- Prepare the design:
Use design software to create or import the design you want to engrave on the leather Bible. Make sure the dimensions match the size of the Bible cover.
Convert the design to a format compatible with your laser engraving machine (common formats are SVG, DXF or AI).
- Setting up the laser engraving machine:
Turn on the laser engraving machine and make sure it is correctly calibrated.
Adjust the laser settings, such as power and speed, based on the material of the personalized leather Bible cover. Test the settings on a scrap piece of the same material, if possible.
- Secure the Bible:
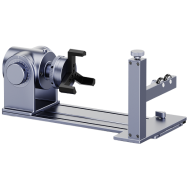
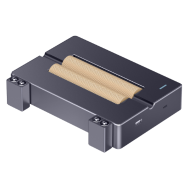
Secure the Bible with name engraving cover in the engraving area. Use clamps or other mechanisms to prevent movement during the engraving process.
- Laser focusing:
Set the correct focal length for the laser beam to ensure optimal engraving quality. Follow the manufacturer's instructions for focusing the laser.
- Preview and alignment:
Use the laser engraving machine's software to preview the design on the cover of the personalized Bible. Align the design to the desired position.
- Start engraving:
Once everything is set up, start the engraving process. Monitor the machine to ensure the engraving is proceeding as desired.
- Post-processing:
Once the engraving is complete, carefully remove the engraved Bible from the machine. Clean the engraved area if necessary.
- Check engraving:
Review the engraved design to ensure it meets your expectations. If necessary, make adjustments to the design or repeat the engraving process.
A notice:
- Always follow the safety guidelines provided by the laser engraving machine manufacturer.
- Before engraving the actual gift Bible, practice on leftover material to optimize the settings and achieve the desired result.
- Consider seeking advice from professionals or experienced users if you are new to laser engraving.
Conclusion
Incorporating laser engraving into personalized Bibles opens up a world of creative possibilities. The combination of modern technology and timeless scriptures allows for a unique and meaningful engraved Bible. When embarking on the journey of Bible engraving, remember that meticulous preparation, attention to detail, and adherence to safety precautions are crucial. The result is not just a personalized Bible, but a testament to the connection between craftsmanship, technology, and personal spirituality.


