





















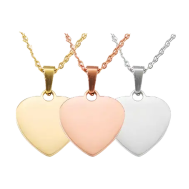
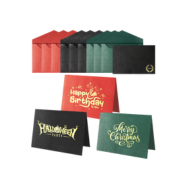


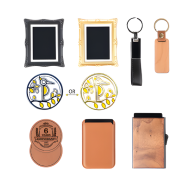























Engraving jewelry adds a personal touch to a beautiful piece, making it truly special. Whether it's a name, date, initials, or a custom message, personalized engraved jewelry leaves a lasting impression. From DIY methods to professional techniques, there are many ways to engrave various types of jewelry, such as rings, bracelets, pendants, and more.
In this guide, we will introduce you to six effective methods for engraving jewelry. Whether you are a beginner or want to create personalized jewelry for your small business, you will find a method here that suits your needs and budget.

In this article:
- Method 1: Engrave Jewelry with a Fiber Laser (Laser Engraving Jewelry)
- Method 2: Engrave Jewelry with a Rotary Tool
- Method 3: Engrave Jewelry by Hand
- Method 4: Engrave Jewelry by Stamping
- Method 5: Engrave Jewelry with a CNC Machine
- Method 6: Engrave Jewelry with a Cricut Maker
Method 1: Engrave Jewelry with a Fiber Laser
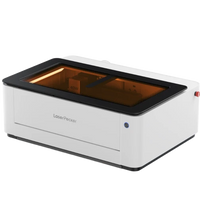
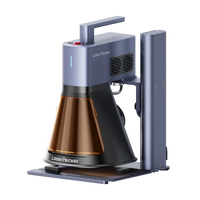
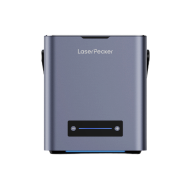
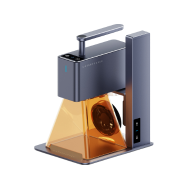
Laser engraving for jewelry is achieved by a focused laser beam that precisely and quickly engraves designs onto jewelry surfaces. This method is frequently used for detailed patterns, text, and logos on metal and other materials.
What you need for laser engraving jewelry:
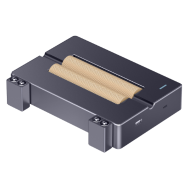
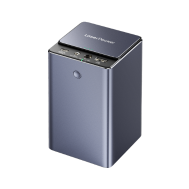
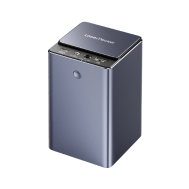
- Fiber laser engraving machine for jewelry
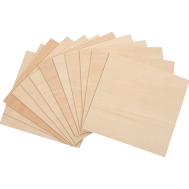
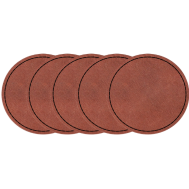
- Jewelry pieces (metal, acrylic, wood, or leather)
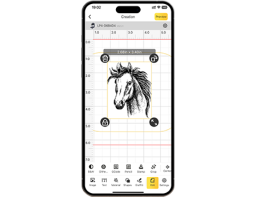
- Design software (e.g., LightBurn, LaserPecker Software & App)
Step 1: Create or select a design
Use design software to prepare your engraving template. Make sure the design fits the size and shape of the jewelry.
Step 2: Prepare the jewelry
Clean the surface to remove dust, oil, or residue. Securely mount the jewelry piece on the laser bed or rotary attachment.
Step 3: Set up the laser device
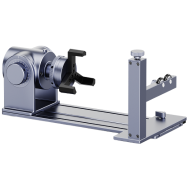
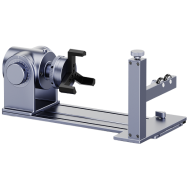
Select the correct material settings (power, speed, frequency). When engraving curved pieces, mount and configure the rotary attachment.
Step 4: Check the engraving area
Use the device's preview function to confirm alignment and size.
Step 5: Start engraving
Start the engraving process and monitor for accuracy and safety. Curious how long it takes to engrave jewelry? Laser engraving is quick – only a few minutes.
Step 6: Post-processing
Clean the engraved area to remove any residue. Polish or apply protective coatings if necessary.
Advantages and disadvantages of laser engraving jewelry
✔️ Advantages:
High precision and detail
Fast and efficient for small to medium quantities
Non-contact (no tool wear or damage)
Suitable for various materials
❌ Disadvantages:
Requires expensive, specialized equipment
Method 2: Engrave Jewelry with a Rotary Tool
This method uses a handheld rotary tool or an electric engraving pen to manually engrave designs onto jewelry pieces. This is a flexible, cost-effective option for beginners and hobbyists working with soft metals or non-metallic materials.
What you need:
- Engraving tools
- Jewelry blanks (aluminum, silver, copper, wood, acrylic, etc.)
- Vise, clamp, or non-slip mat
- Polishing cloth or fine sandpaper
Step 1: Mark the design
Use a pencil, stencil, or tape to mark your design directly on the jewelry surface.
Step 2: Secure the jewelry
Place the jewelry piece in a clamp, vise, or on a non-slip mat to keep it stable during the engraving process.
Step 3: Select and install the burr
Choose a fine engraving burr suitable for the material and level of detail and secure it firmly in the tool.
Step 4: Start engraving
Turn on the rotary tool and carefully follow the contours of your design. Apply light, even pressure and take breaks to avoid overheating or slipping.
Step 5: Clean and finish
After completion, remove any residue and polish the surface if necessary to improve contrast and smooth edges.
Advantages and disadvantages of engraving with a rotary tool
✔️ Advantages:
Cost-effective and easily accessible
No computer or software needed
❌ Disadvantages:
Requires a steady hand and practice
Less precise than laser engraving jewelry or CNC engraving
Time-consuming for complex designs
Method 3: Engrave Jewelry by Hand
Hand engraving is a traditional and artistic method where the design is manually carved into the jewelry with a sharp tool and light hammer taps. It is highly valued for creating unique, handcrafted details and has been used by jewelers for centuries.
What you need:
- Engraving graver or chisel
- Small jewelry hammer
- Engraving block or vise (to securely hold the jewelry)
- Pencil or scriber (for sketching the design)
Step 1: Sketch the design
Draw your design directly on the jewelry with a fine pencil or a scriber. Keep it simple, especially if you are a beginner.
Step 2: Secure the jewelry
Place the piece in an engraving block or vise to keep it completely stable while working.
Step 3: Choose the appropriate graver
Select a shape that matches the design (e.g., flat, round, or square) and ensure the graver is sharp.
Step 4: Start engraving
Hold the graver at a controlled angle and gently tap it with the hammer while following the design lines. Work slowly and carefully for consistent depths.
Step 5: Refine and finish
Clean the surface with a polishing cloth and remove any burrs. If necessary, retrace shallow lines to improve visibility.
Advantages and disadvantages of hand engraving jewelry
✔️ Advantages:
Unique, handcrafted results
Suitable for soft metals (silver, gold, copper, brass)
❌ Disadvantages:
Very time-consuming, especially for detailed designs
Not ideal for mass production or large quantities
Method 4: Engrave Jewelry by Stamping
Metal stamping involves using force to impress letters, numbers, or symbols into jewelry pieces. It is suitable for simple, striking designs and personal messages – especially popular for name tags, dates, and initials.
What you need:
- Metal stamps (letters, numbers, symbols)
- Small jewelry hammer
- Jewelry blanks (aluminum, copper, brass, silver, etc.)
- Polishing cloth
Step 1: Plan the layout
Use tape or a stamping jig to mark the position of the engraving and keep the letters straight.
Step 2: Position the blank
Place the jewelry blank on a steel block for a firm hold.
Step 3: Align the stamp
Hold the stamp vertically and position it at the desired spot.
Step 4: Strike with a hammer
Deliver a single, firm hammer blow. Avoid multiple blows to prevent blurring.
Step 5: Darken & Polish (optional)
Color the stamped area with a marker or patina solution, then wipe the surface to create contrast.
Advantages and disadvantages of stamping jewelry
✔️ Advantages:
Inexpensive and easy to learn
No electricity or complicated tools needed
❌ Disadvantages:
Limited detail possibilities
Only works well on flat, soft metals
Errors are difficult to correct
Method 5: Engrave Jewelry with a CNC Machine
CNC (Computer Numerical Control) engraving uses a precise milling machine controlled by digital design files. Ideal for high-precision, repeatable, and detailed engravings on metal – perfect for professional users or series production.
What you need:
- Jewelry CNC engraving machine
- Computer with CAD/CAM software
- Jewelry blanks (gold, silver, stainless steel, titanium, etc.)
- Vise or clamps
- Polishing cloth
Step 1: Create or import a design
Create your design in CAD software and convert it into a toolpath using CAM software.
Step 2: Secure the jewelry piece
Secure the blank on the machine bed to prevent movement.
Step 3: Set up the machine
Load the design file, select the engraving tool, and set the spindle speed, feed rate, and engraving depth.
Step 4: Test run
Perform a test run on a scrap piece to check positioning and accuracy.
Step 5: Start engraving
Start the engraving process and monitor the machine during operation for safety and precision.
Step 6: Clean and polish
Remove any residue and polish the engraved surface for a clean, professional result.
Advantages and disadvantages of CNC engraving jewelry
✔️ Advantages:
Extremely precise and detailed
Repeatable results – ideal for series production
Fully automated process after setup
❌ Disadvantages:
High acquisition costs for machine and software
Setup for each new design is time-consuming
Method 6: Engrave Jewelry with a Cricut Maker
The Cricut Maker is a versatile cutting and crafting machine that can also engrave jewelry with a special engraving tip. Ideal for thin, flat metal pieces such as tags, pendants, or charms – especially suitable for DIY enthusiasts.
What you need:
- Cricut Maker
- StrongGrip mat
- Thin, flat metal blanks (aluminum, anodized aluminum, stainless steel)
- Painter's tape or masking tape for securing
- Computer with Cricut Design Space software
Step 1: Create a design
Open Cricut Design Space and create or import your design. Adjust the size to fit your jewelry piece.
Step 2: Prepare the blank
Place the metal piece on the mat and firmly tape all edges to prevent movement.
Step 3: Align and send to the machine
Position the design precisely over the blank and start the engraving process.
Step 4: Remove and polish
Carefully remove the blank and tape. Polish the surface to highlight the engraving.
Advantages and disadvantages of engraving with a Cricut Maker
✔️ Advantages:
Easy to operate
More cost-effective than laser or CNC machines
Suitable for many DIY-friendly metals
❌ Disadvantages:
Only suitable for thin, flat metal pieces
Not suitable for deep engravings or curved jewelry
Conclusion
Engraving jewelry can be both fun and rewarding, regardless of your experience level. However, if you want clean, professional results with minimal effort, laser engraving jewelry is hard to beat. LaserPecker jewelry laser engravers offer unmatched precision, speed, and versatility – perfect for detailed designs, personalized jewelry engraving, or even business-level production. Whether you're creating personalized jewelry as a gift or starting your own jewelry line, a laser engraver can take your craft to the next level.