










































Picture frames not only protect your photos, but also bring memories to life and add a personal touch to your home. When you make your own picture frame, you can choose the design, material, and surface finish exactly as you envision them. This turns a simple DIY project into something truly special.
Whether you prefer classic woodworking or want to try modern laser cutting – in this guide, you'll learn how to create a custom picture frame that is guaranteed to catch the eye.

In this article:
- Part 1: Why self-made picture frames are so popular
- Part 2: The 2 best methods for a custom picture frame
- Method 1: Making picture frames with woodworking tools
- Method 2: Making picture frames with a laser cutter
- Part 3: Creative ideas for custom picture frames
- FAQs: Frequently asked questions about making your own picture frames
Part 1: Why self-made picture frames are so popular
Custom picture frames combine creativity, functionality, and personal significance. They can be perfectly matched to your interior design, made from interesting materials, and finished with details that a conventional frame might lack. Additionally, you can save money by designing your own photo frame. For anyone who enjoys creating decorative and practical items, this is a particularly rewarding DIY project.
Part 2: The 2 best methods for a custom picture frame
There are two main ways to make a picture frame: classic woodworking and modern laser cutting. Woodworking results in a handmade, slightly rustic character. A laser-cut picture frame, on the other hand, impresses with its precision, quick production, and great creative freedom.
Method 1: Making picture frames with woodworking tools
Woodworking is a proven method for crafting frames. You can cut, shape, and finish the wood by hand. The process is versatile and gives the finished frame a personal, artisanal character.
Pros and Cons
Pros: Handmade wooden frames possess a classic, authentic charm. You determine the size, color, and surface finish yourself. If you enjoy working with natural materials and like DIY projects, making them is particularly enjoyable.
Cons: Woodworking requires suitable tools, time, and some manual dexterity. Production takes longer than buying a finished frame, and the result depends on your experience.
Tools and Materials
- Wooden strips, for example, made of oak, pine, or reclaimed wood
- A saw, ideally a miter saw
- Sandpaper
- Wood glue and clamps
- Nails or screws
- Wood stain or paint (optional)
- Tape measure and pencil
- A glass or plastic pane for the front
Step-by-step instructions
Step 1: First, measure your photo. The frame opening should be about half an inch smaller on each side so the picture sits securely.
Step 2: Cut the wooden strips with a miter saw at a 45-degree angle. This creates clean corners.
Step 3: Sand the edges smooth.
Step 4: Glue the frame parts together and fix them with clamps until the glue has dried. For additional stability, you can use small nails or screws.
Step 5: Now for the finish. Stain, paint, or seal the frame to your taste.
Step 6: Insert the glass or acrylic pane, your photo, and then a back panel.
Step 7: Finally, attach a hanger, such as brackets or a wire.
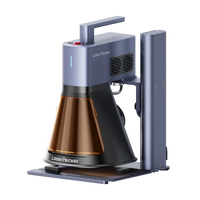
Method 2: Making picture frames with a laser cutter (Recommendation: LP5)
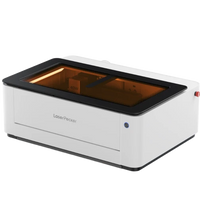
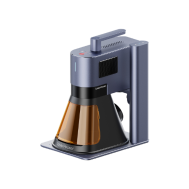
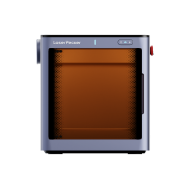
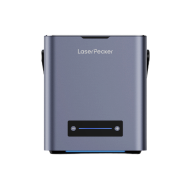
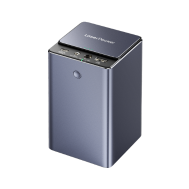
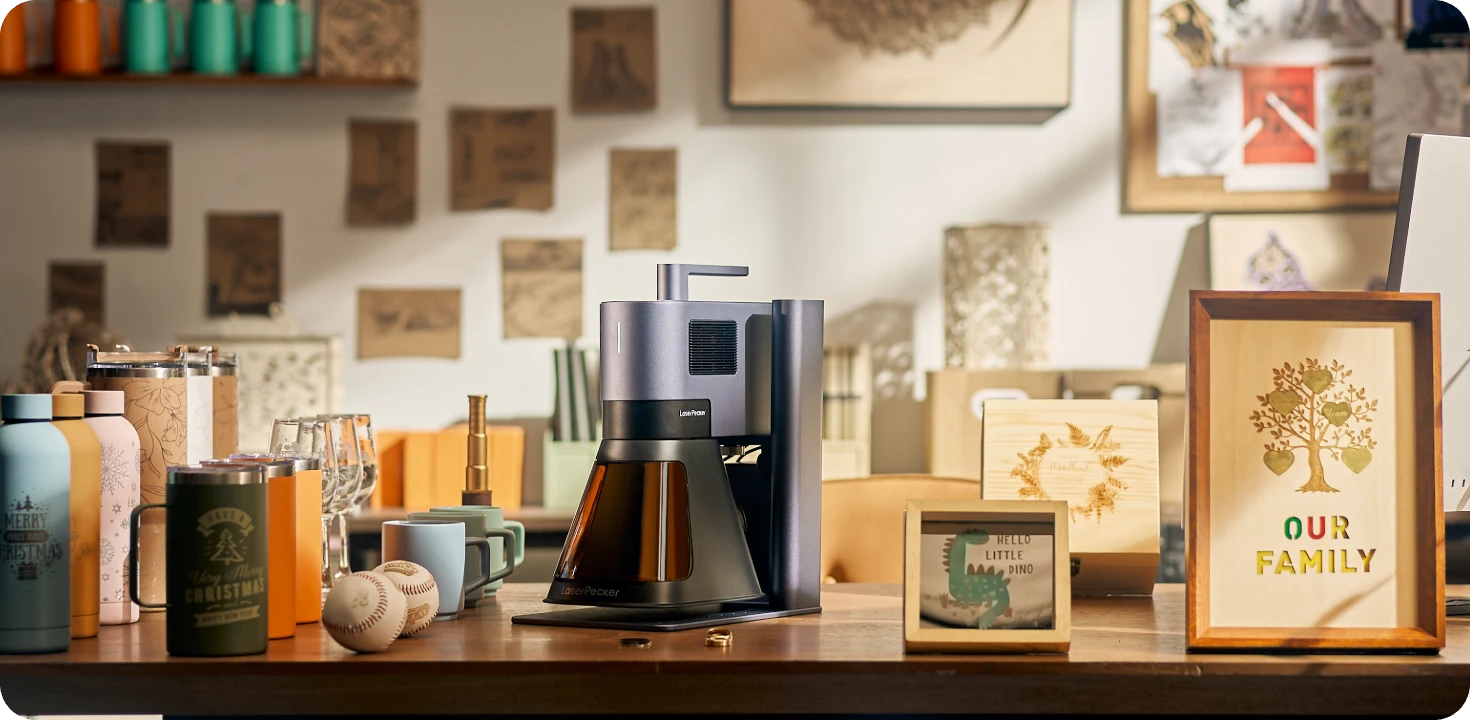
With laser cutters like the LaserPecker LP5 or the LaserPecker LX2 for series production and larger projects, wooden frames can be produced with clean cut edges and precise engravings. Unlike classic woodworking, you can implement patterns, special shapes, or lettering directly in one step. This way, you quickly transform wood into a personal keepsake.

Pros and Cons
Pros: Laser cutters are excellent for projects that require precise cuts and a professional appearance. Names, dates, and other motifs can be engraved directly onto the material. Fast, repeatable processing is ideal for gifts or small series.
Cons: You need access to a laser cutter and must first familiarize yourself with the design software. In addition, purchasing a laser cutter is more expensive than traditional hand tools.
Tools and Materials
- Laser cutter (the LP5 is a good choice)
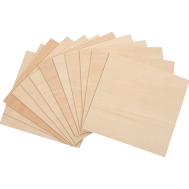
- Thin wooden panels, for example, made of basswood
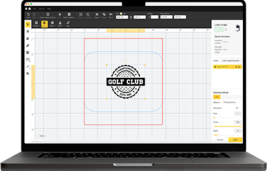
- Design software such as LightBurn or LaserPecker Design Space
- Your photo and a wooden back panel
Step-by-step instructions
Step 1: Create your design in vector graphics software. Add patterns, frame lines, or text to personalize the design.
Step 2: Use thin, flat wooden panels like basswood, which can be cut cleanly.
Step 3: Adjust laser power and speed to the thickness of the wood.
Step 4: Precisely cut the frame parts with the LP5. Try multi-layered shapes or heart-shaped cutouts as in our Valentine's Day photo frame.
Step 5: For decoration, engrave motifs, initials, or personal messages into the wood.
Step 6: Glue or connect the individual parts, insert the glass or acrylic pane and your photo, and attach the back panel.
Why the LP5 stands out
The LP5 is excellent for making wooden picture frames. It features two lasers: a 20W diode laser that cleanly cuts basswood up to 20mm thick, and a 20W fiber laser for particularly detailed engravings. This allows you to first cut the frame and then professionally and personally design it with motifs, lettering, or borders.
With an engraving speed of up to 10,000 mm/s, the LP5 processes even complex designs quickly. Therefore, it is suitable for both individual pieces and multiple frames. Deep engravings and relief engravings also enable three-dimensional structures such as tendrils or geometric patterns.
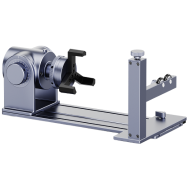
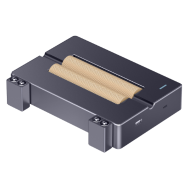
With accessories like the Slide Extension (160 × 300 mm), you can make larger frames. The Rotary Extension also allows for processing curved objects that can be designed to match the frame. The LP5 is compatible with LightBurn and LaserPecker Design Space, so you can preview and adjust your designs before engraving.
Thanks to its Class 1 laser safety housing, the LP5 can be safely used indoors. It combines precise cutting, detailed engravings, and high speed, making it ideal for high-quality, custom wooden frames – whether as decoration, a gift, or a reminder of special moments.
Part 3: Creative ideas for custom picture frames
Custom frames don't have to be boring. Combine different materials and designs to create your very own photo frame.
Idea 1: Glass photo frames
Glass frames look elegant – with a laser engraving, they become even more extraordinary. Pictures can be engraved directly into the glass and then appear like frosted grayscale motifs. This makes the photos seem to glow from within the glass and remain preserved permanently.
This technique is suitable for portraits, landscape shots, and other valuable memories, lending them an artistic, timeless effect. For optimal results, use high-contrast grayscale photos. A dark background highlights fine details particularly well. This transforms simple glass into a modern, personalized work of art.
Idea 2: Music frames made of wood and acrylic
These frames combine the warm effect of wood with the modern look of acrylic. Often, a QR code or a music note is engraved onto the acrylic, so the frame not only displays a photo but also leads to a song. This allows you to both see and hear a memory at the same time.
Idea 3: Frames made of driftwood or in a rustic style
Driftwood frames appear natural and slightly weathered. They fit particularly well with coastal, country, or farmhouse style interiors. Since no two pieces of wood are alike, each frame is unique. Small imperfections and signs of wear give it additional character.
Idea 4: Frames made from recycled materials or vinyl records
Transforming old items like vinyl records, cardboard, or plastic into picture frames conserves resources and opens up exciting design possibilities. For example, you can cut a vinyl record and make a frame from it that displays your photo and also reminds you of special music. Such frames are original, eco-conscious gifts and decorative unique pieces.
FAQs: Frequently asked questions about making your own picture frames
1. Which materials are best suited for DIY picture frames?
Wood is a classic for picture frames and is easy to work with. Acrylic provides a modern look, while aluminum or brass are particularly durable. Recycled materials are also suitable for creative DIY projects.
2. Do I need special prior knowledge to make a frame?
No. Simple wooden frames can be made with basic tools. With a laser cutter, the process becomes even easier, as the parts are precisely cut and engraved according to a digital template.
3. Can I sell self-made picture frames?
Yes. Personalized picture frames are very popular on platforms like Etsy and at craft markets. Custom designs are particularly suitable as gifts and can form the basis for a small handmade business.
4. What frame sizes can I make?
Basically, almost all frame sizes are possible. For laser cutters, the maximum size depends on the work area. Larger frames can be made in several parts and then assembled.
Conclusion
Making your own picture frame is a versatile and creative project. You can hand-process wood to achieve an authentic, handcrafted look. For fast, precise cuts and custom designs, a laser cutter like the LP5 is ideal.
Whether it's a simple wooden frame, a modern acrylic frame, or an expressive unique piece: when you design your own picture frame, you transform everyday materials into a personal presentation for your most beautiful photos.